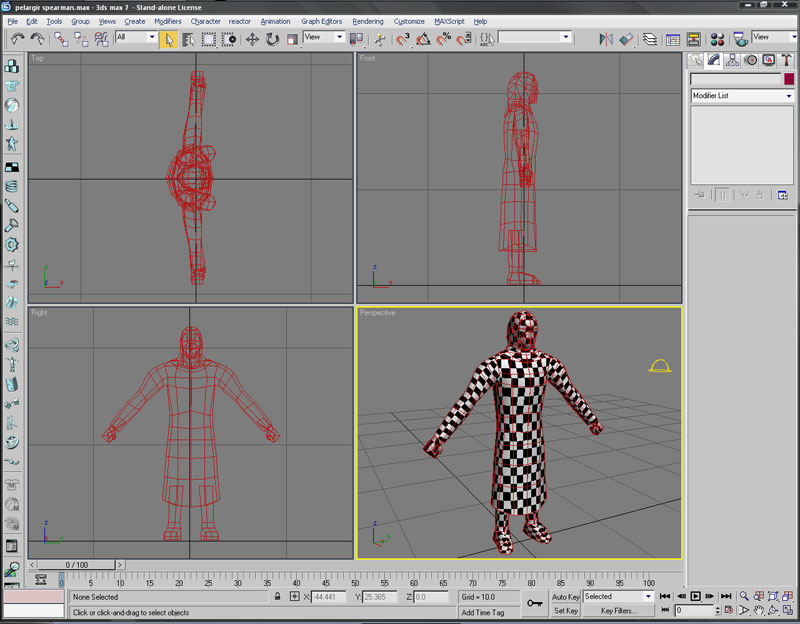
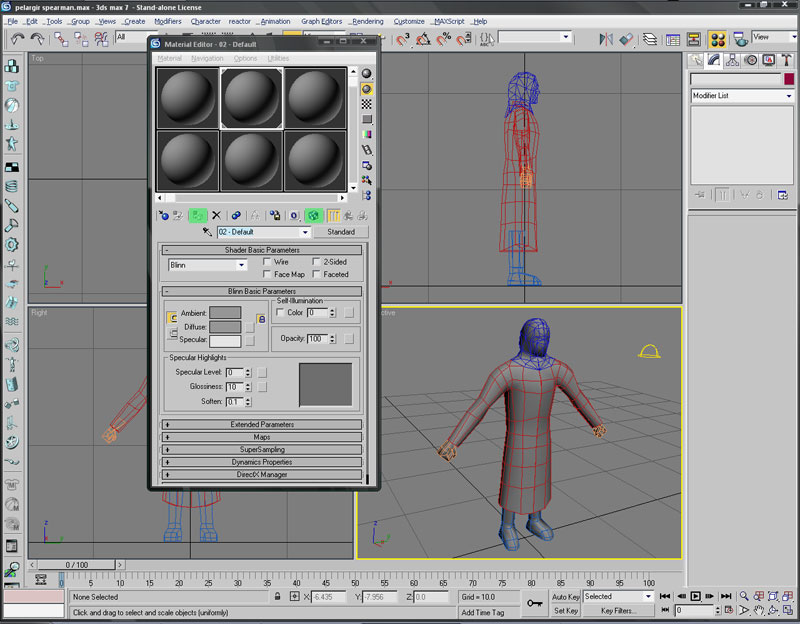
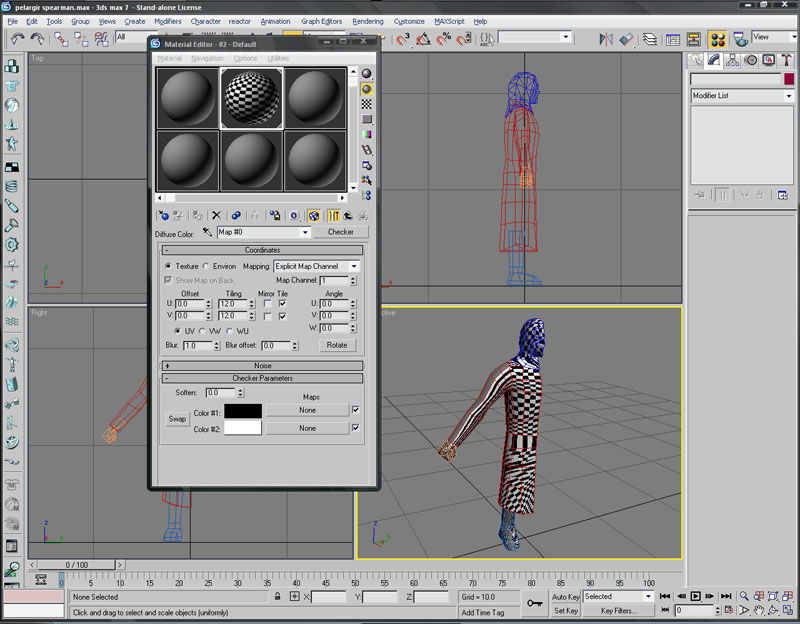
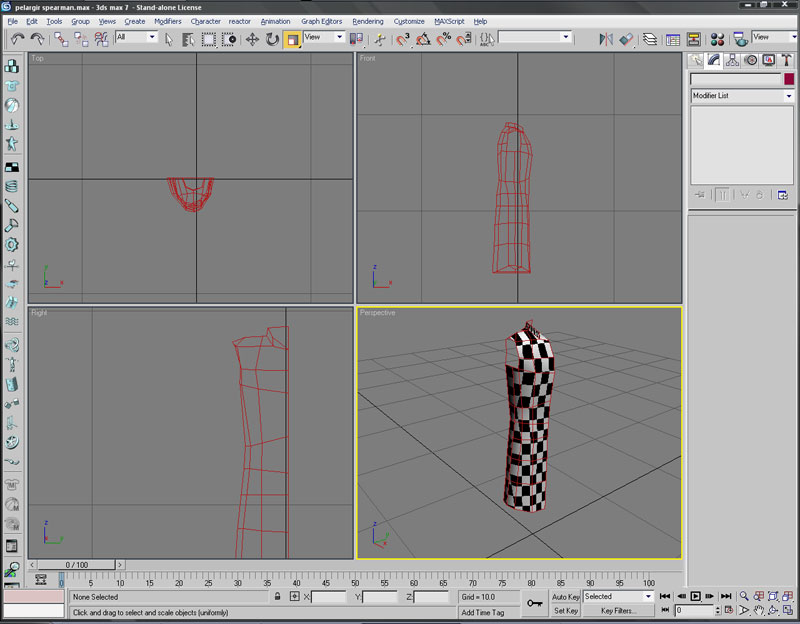
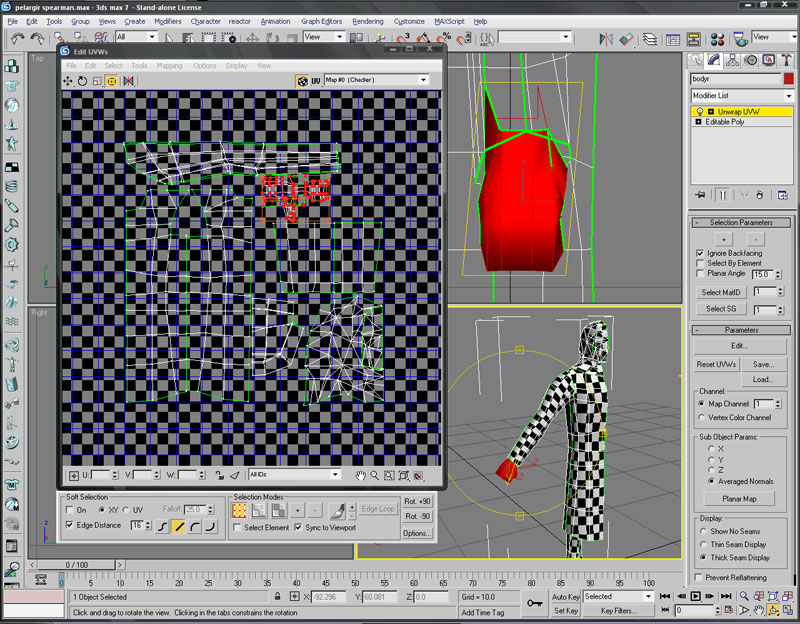
1. I open up the material editor and apply a blank texture to the whole model, making sure it's set up to show up.

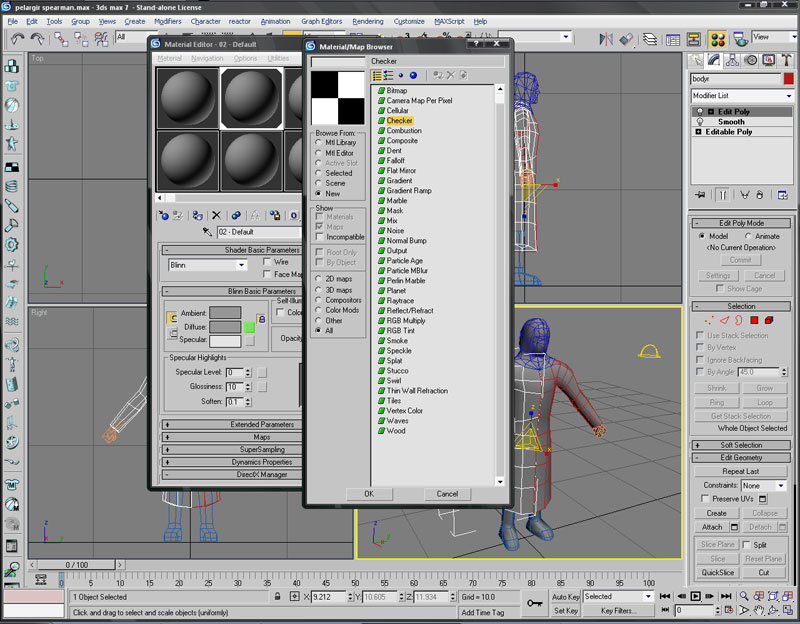
2. In the diffuse texture slot, select a checker material. The checker material contains only squares, so when applied to the model it becomes very easy to see any mapping distortions.

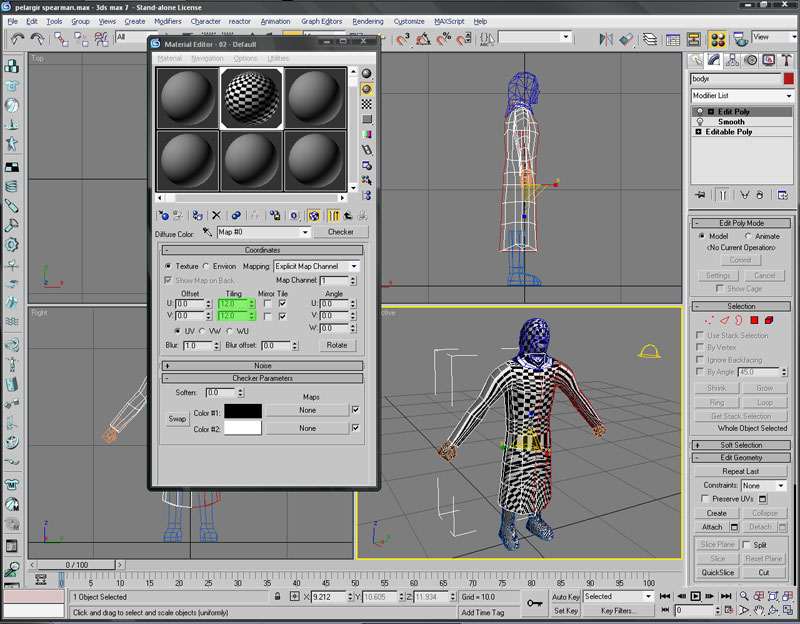
3. Set the tiling of the checker material to an arbitraty number, I usually use between 10 and 15. It has to be small enough so that you can see distortions

4. Now delete the instanced other half of the model - we won't be needing it right now and it'll just get it the way. Plus, I like to collapse the stack a lot and that will cause the instance to be lost. It's better to clone it again at the end.

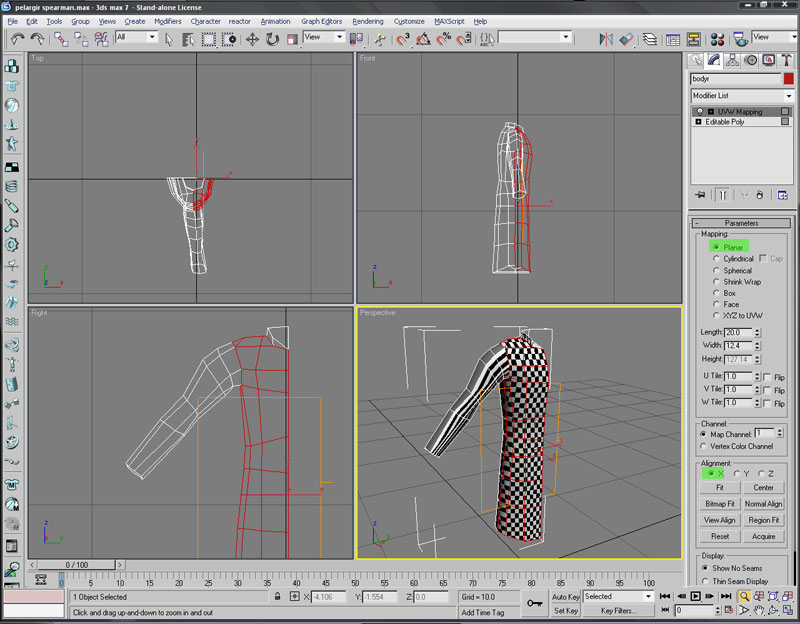
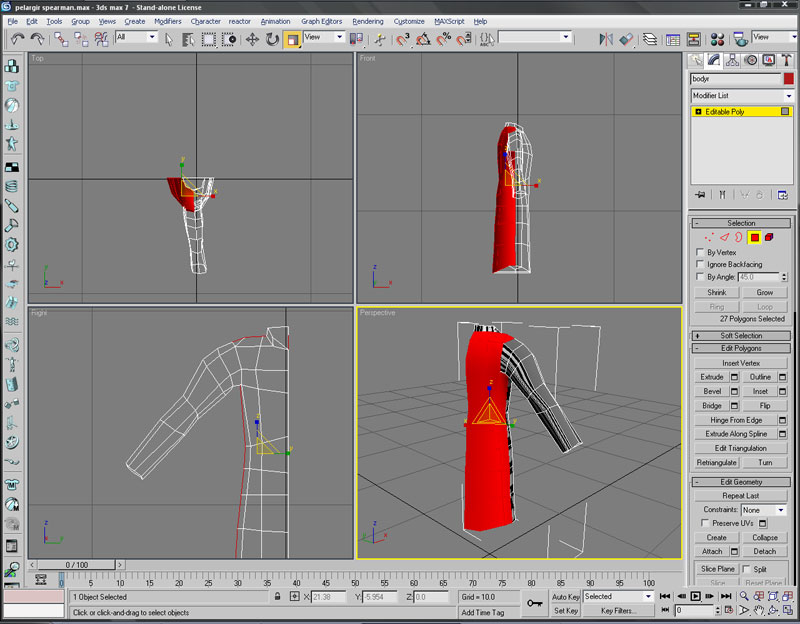
5. Now hide all the other objects except the body. Select all the front side polygons and apply a UVW map modifier, set the plane so that it's paralell to the guy's chest.

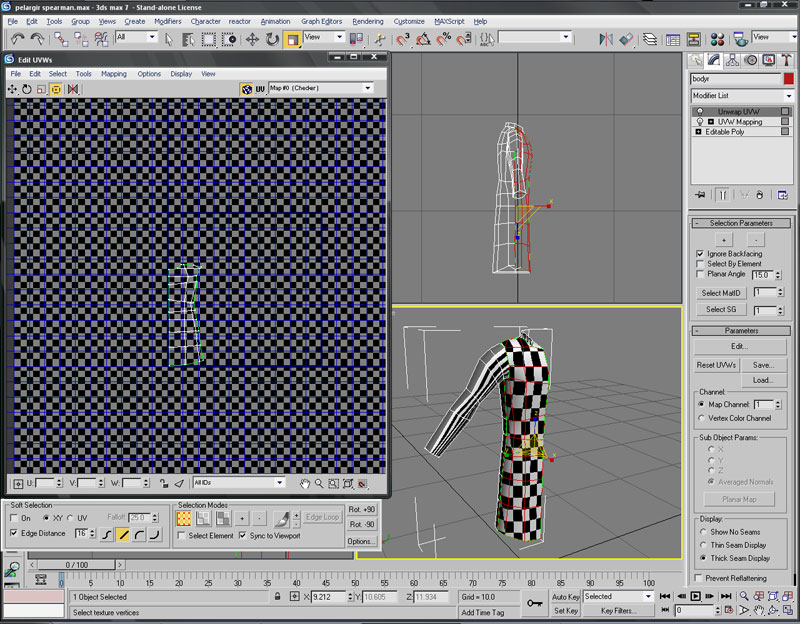
6. Now apply a UVW Unwrap modifer. Resize the map used a bit so that you can find it easily later.

7. . Now collapse the stack (right click -> convert to editable poly). and select the back polys. Repeat the same procedure as for the front.

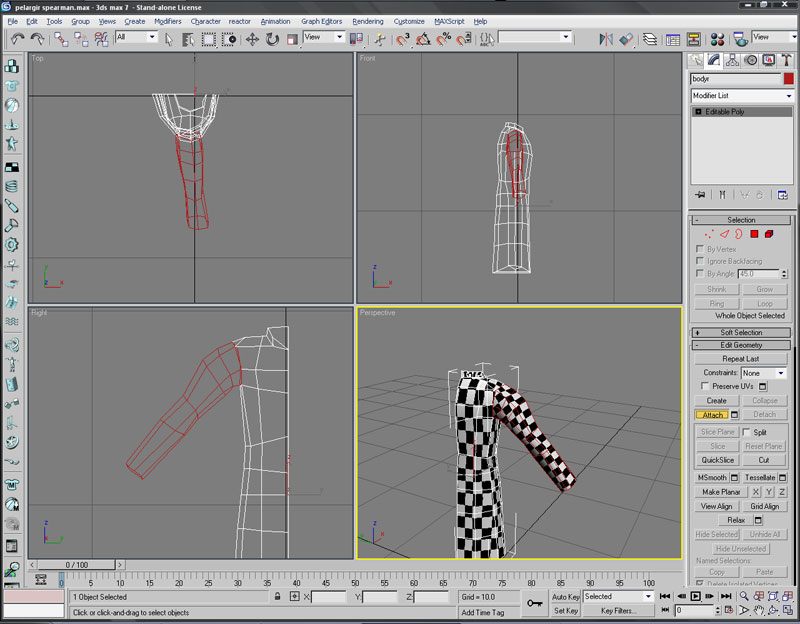
Now detach the arm polys. They'll just get in the way later. Hide the arm.

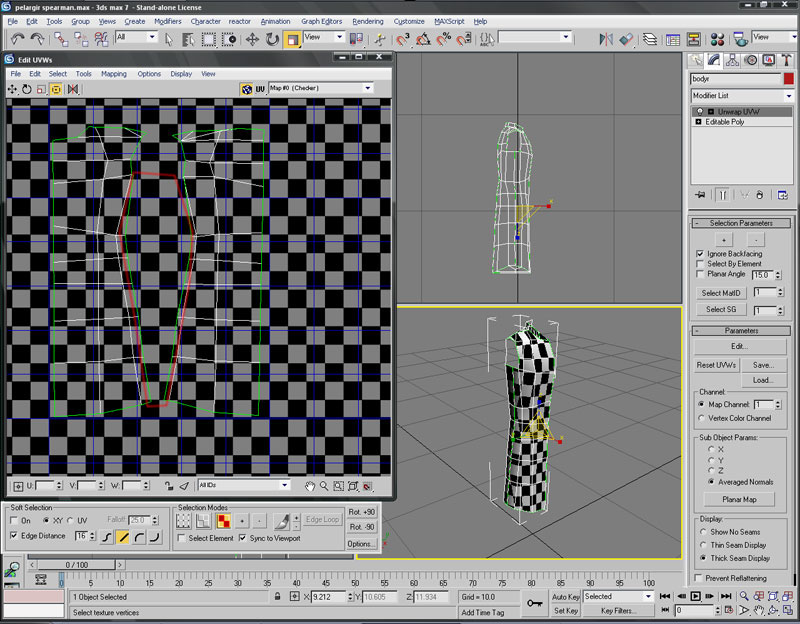
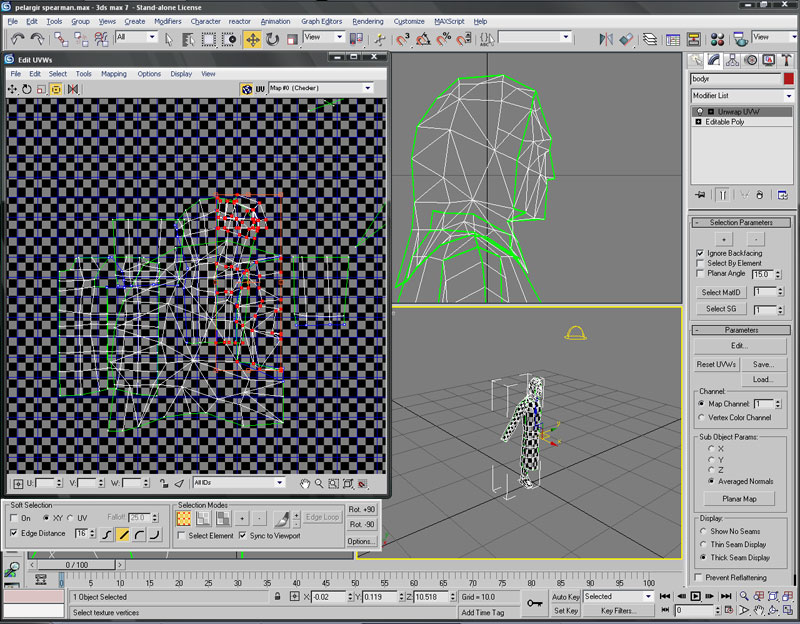
Now collapse the stack again. Apply an unwarp UVW modifer - you'll see the front and back of the model.

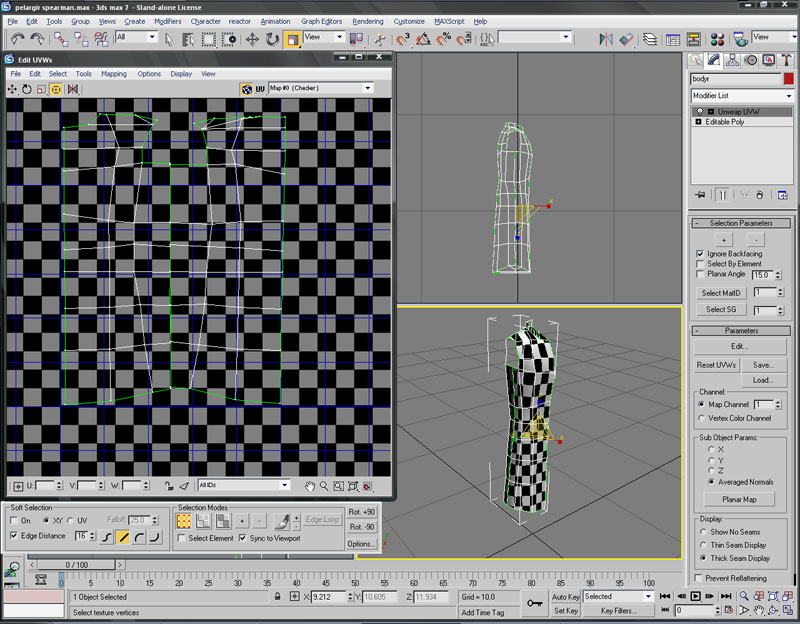
You need to carefully join the edges aloong the side. This will do 2 things: create a continuous edge, and eliminate stretching. If you're keen eyed, you can spot distortions along the edge because of the orientation of the planar UVW Map modifier that was used. Adjusting these poly in the unwrap will eliminate that stretching.

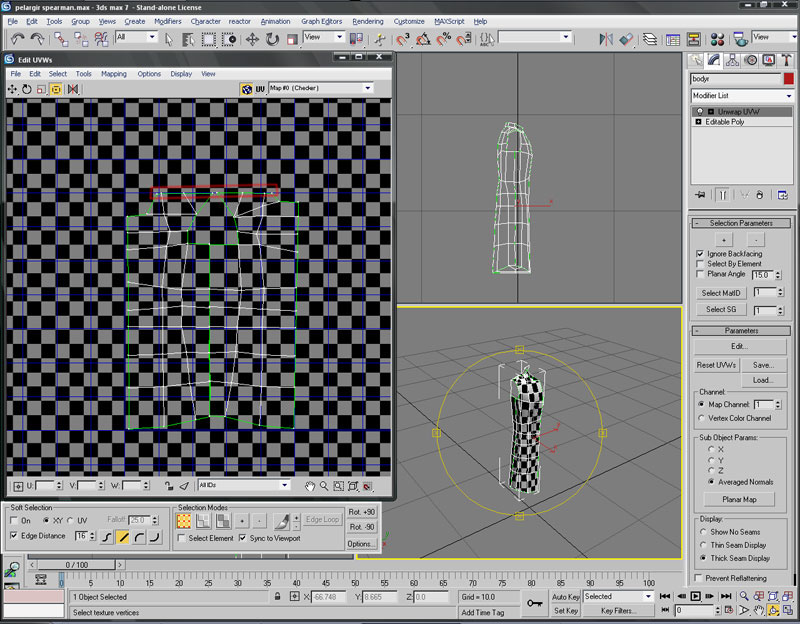
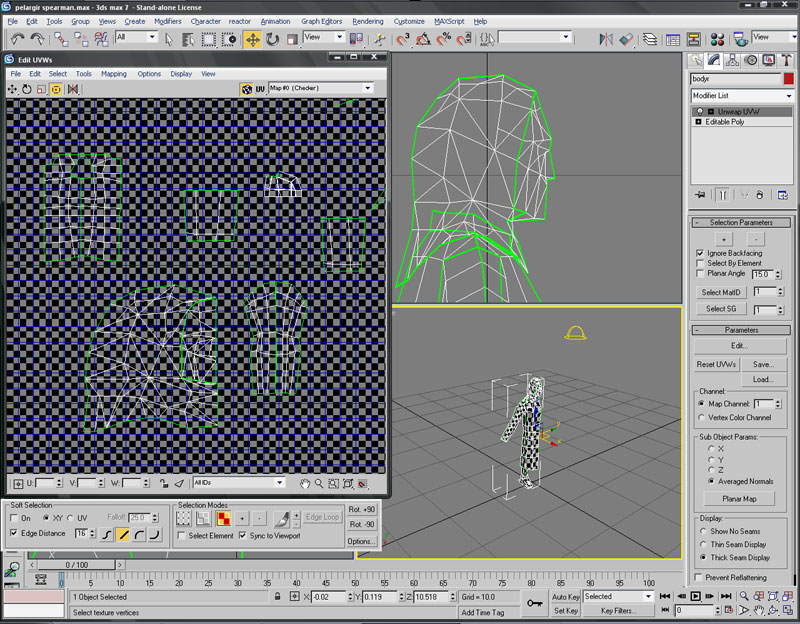
The same stretching will be present on the neck, again because of the map. So, raise the nexk vertices a bit until you observe a lack of stretching on the checkered pattern. You should end up with something like this:

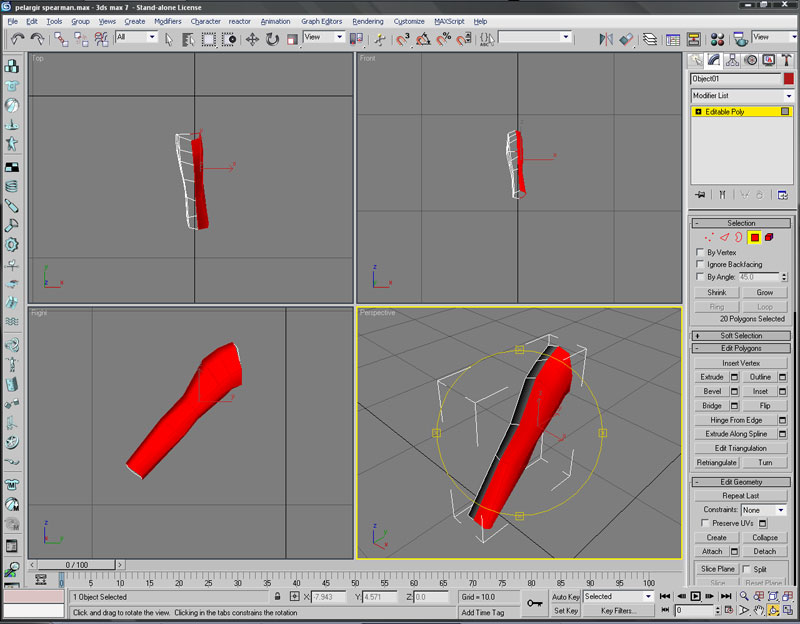
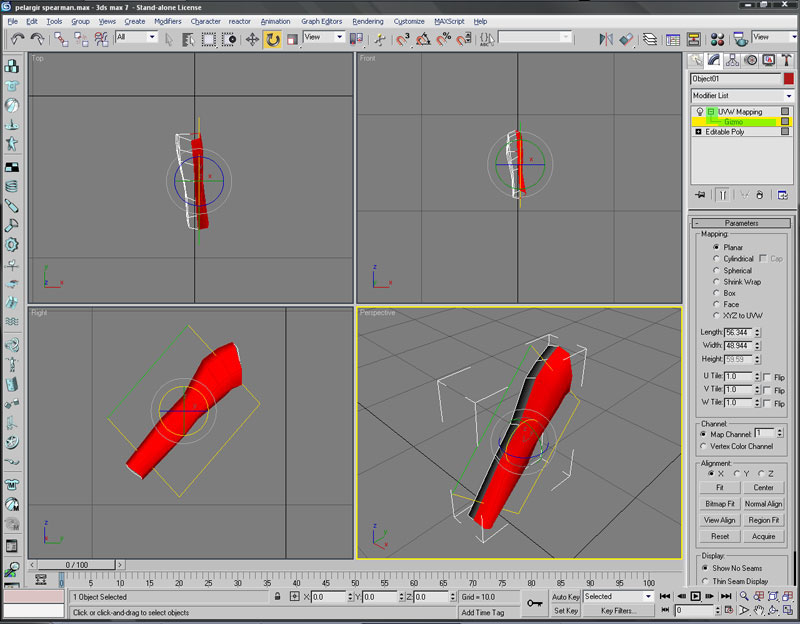
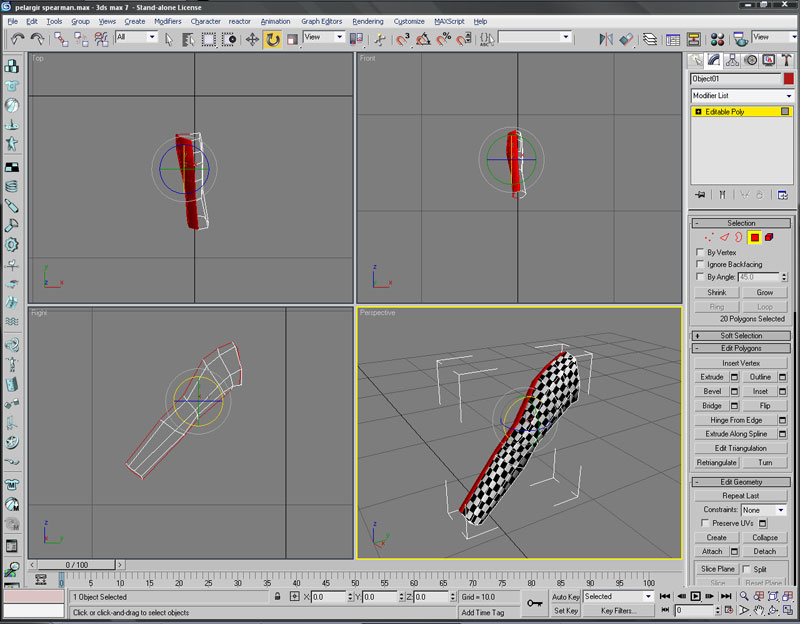
Now hide the body and unhide the arm . Select one side's polys. In theory you could use the whole arm, but if you don't want a duplicate texture on both sides you should only use half

Apply a UVW map modifier, and use the rotate tool to rotate the plane a bit.

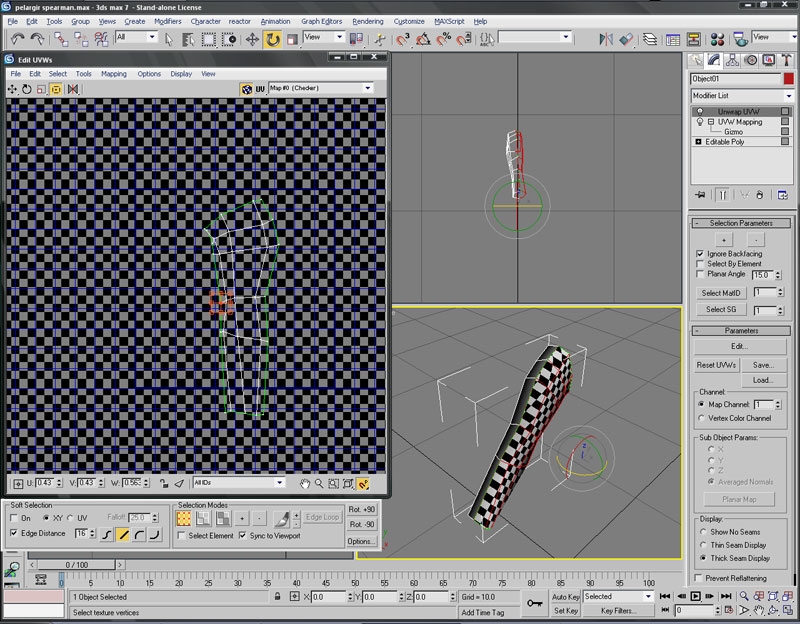
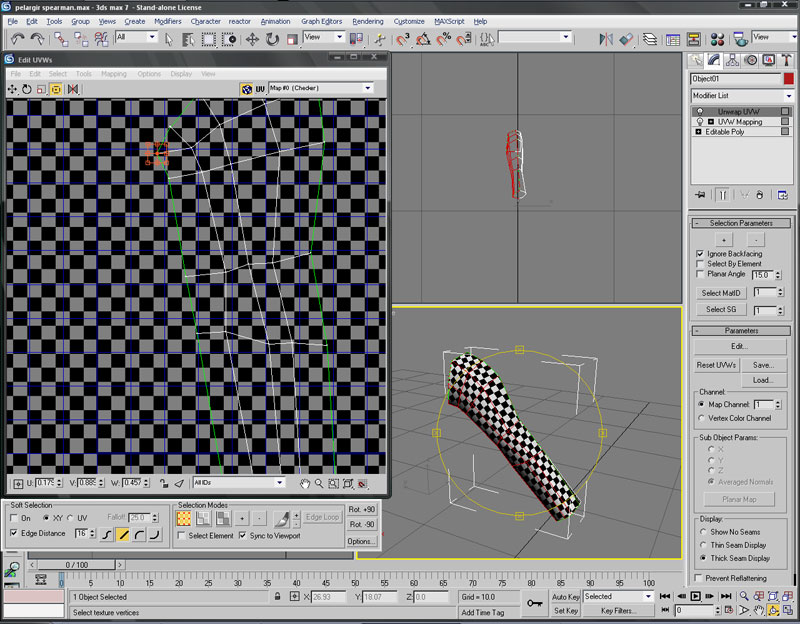
Like the body, we will have stretched areas on the arm.

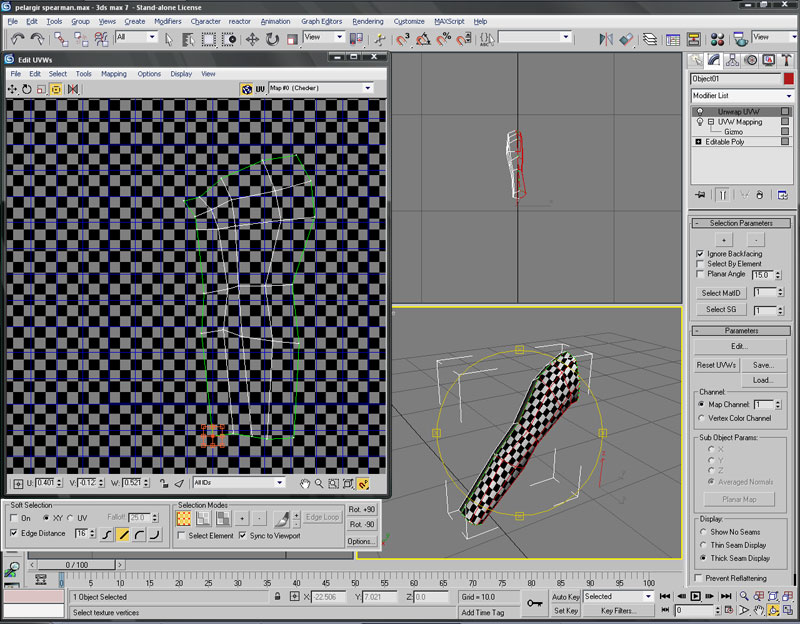
Using patience and a good eyes, move the vertices away from each other so that the checker pattern is clean.

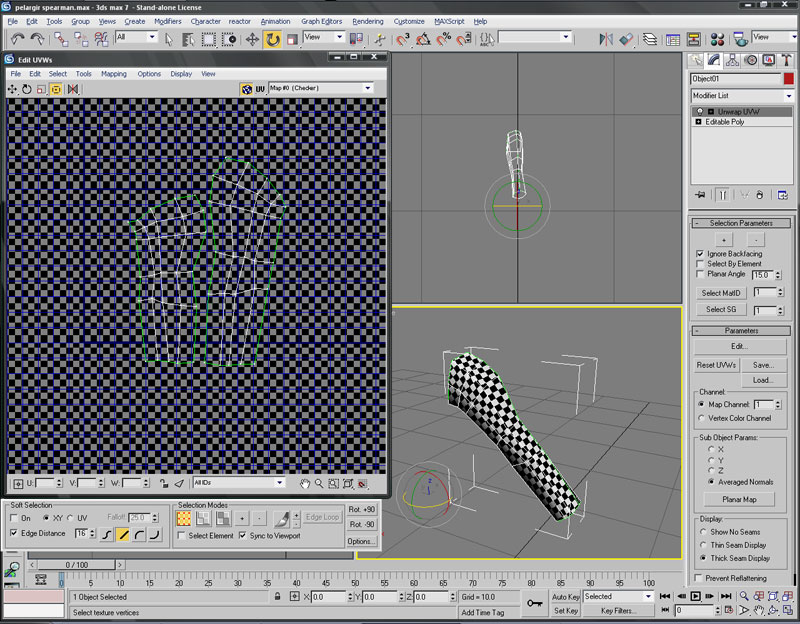
Collapse stack, select the other side's polys.

Apply a UVW map, then an unwrap, again moving the vertices to eliminate stretching.

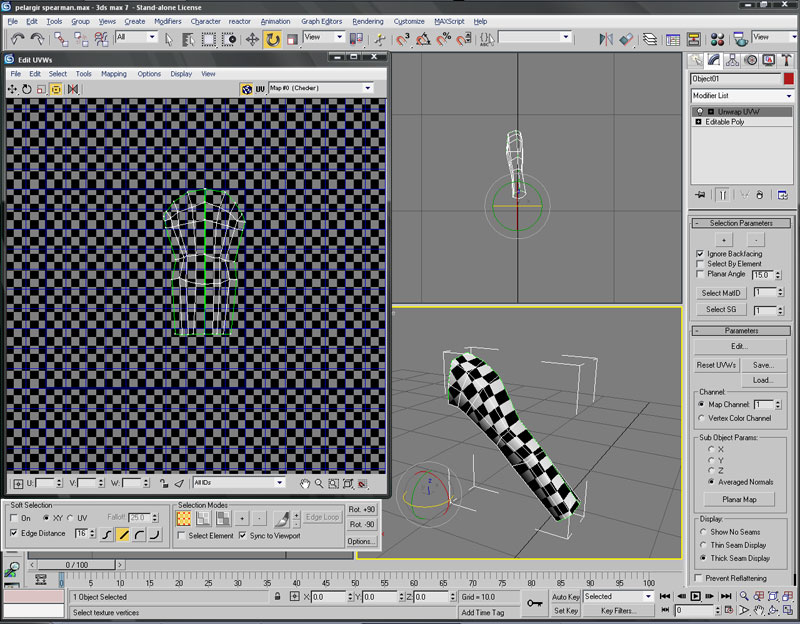
Collapse the stack, the unwarp again. Now we have both sides on the map.

Resize them so that they are the same size, and fit them together. Touch up and areas that may have gotten bent.

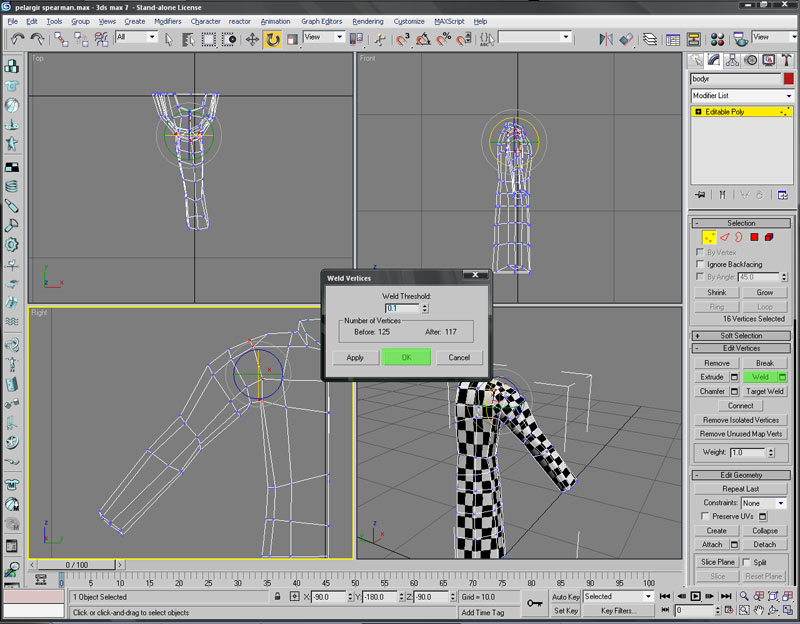
Now unhide the body and attach the arm to it.

Make sure to weld the vertices so that the model is clean

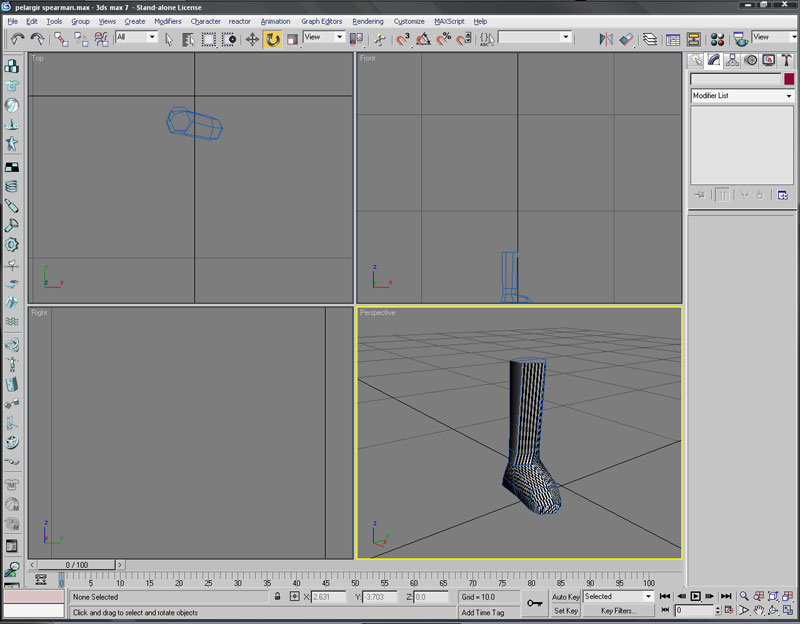
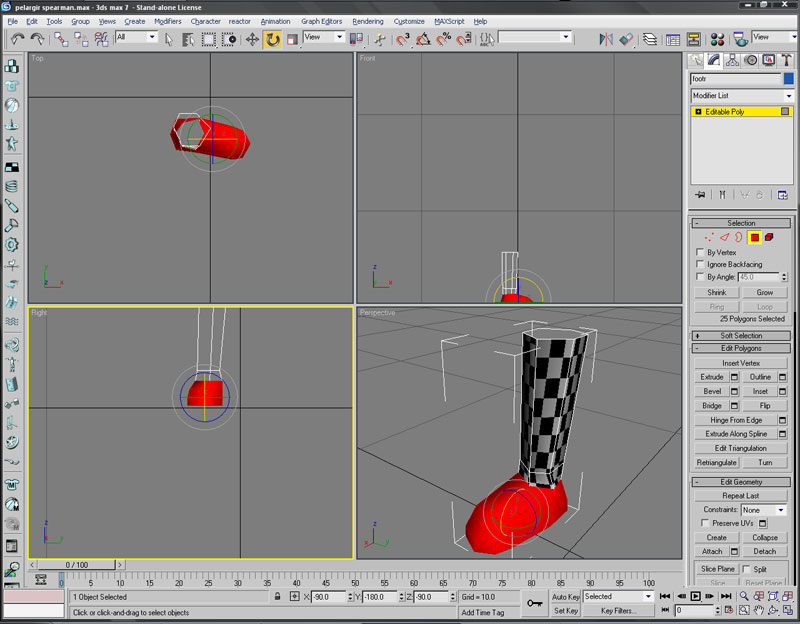
Now hide everything but the foot

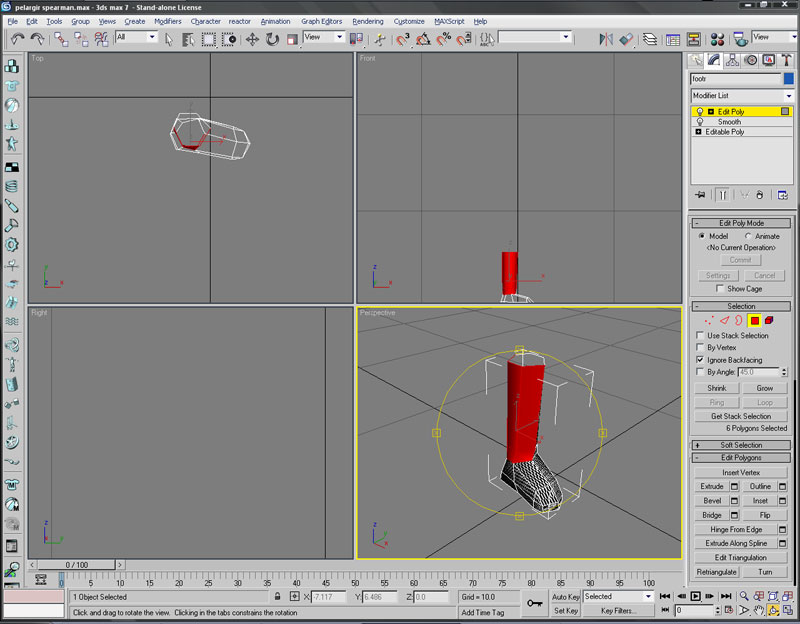
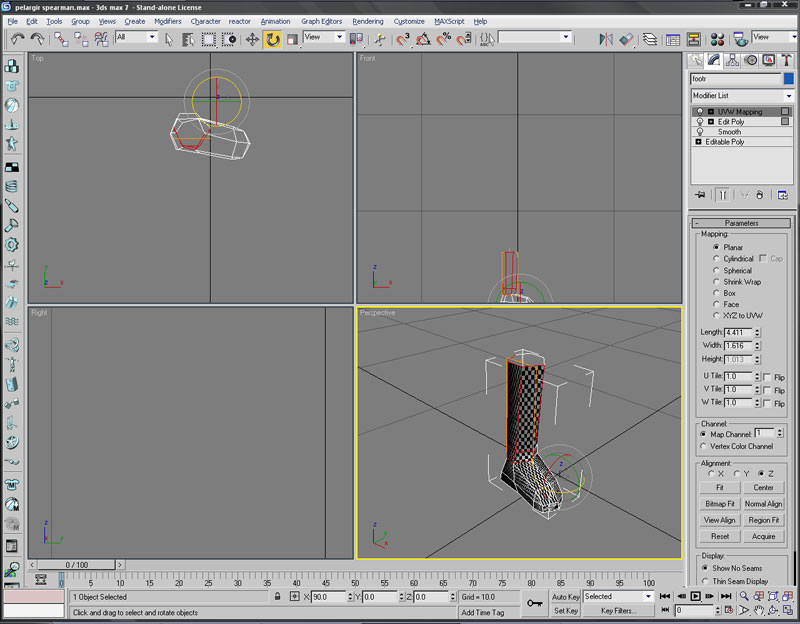
Select half of the leg.

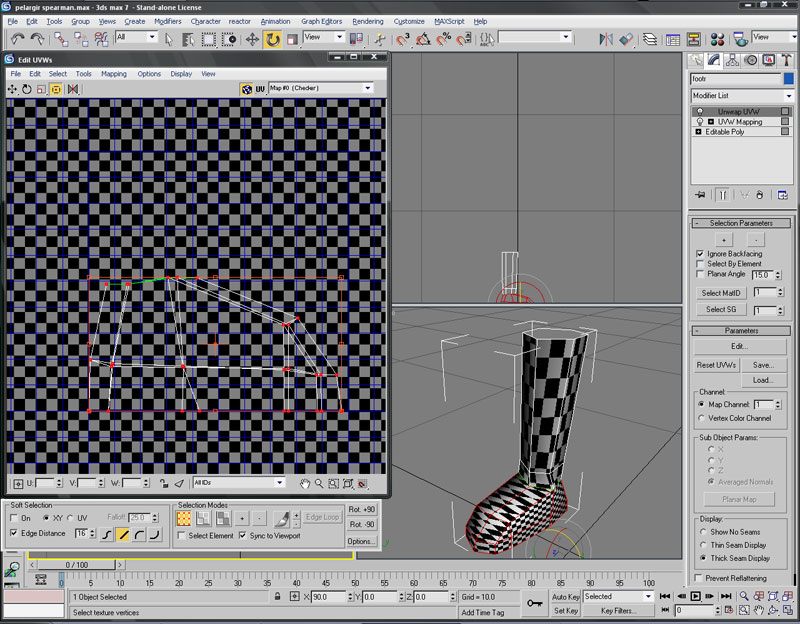
Apply a Mam modifier.

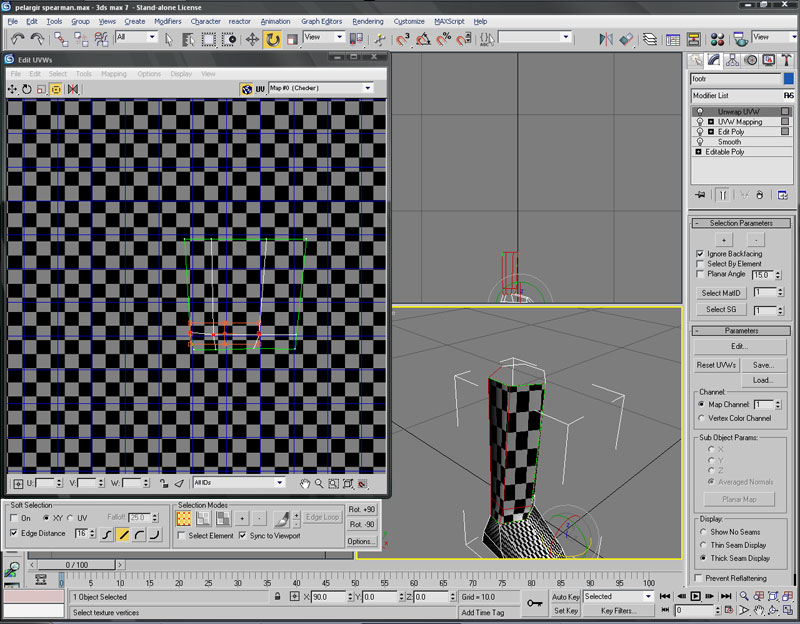
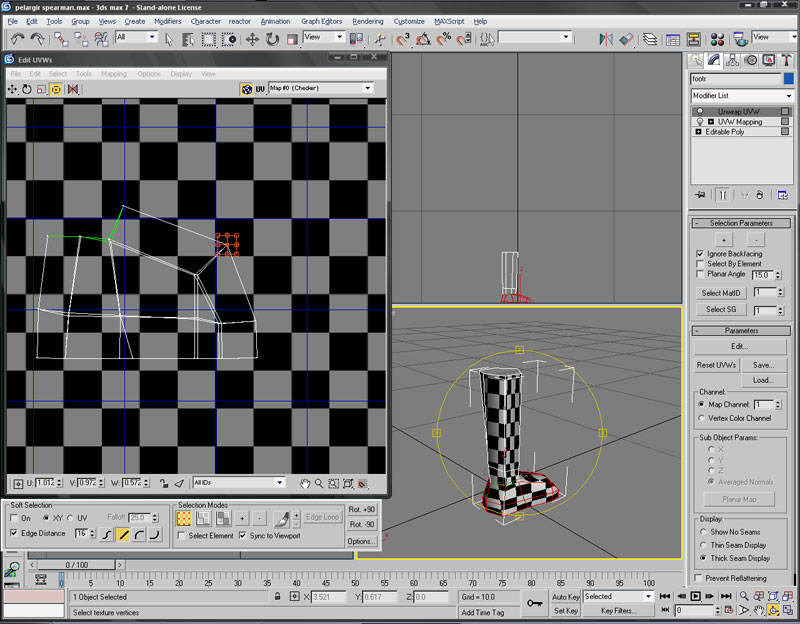
Unwrap it, and remove and stretching.

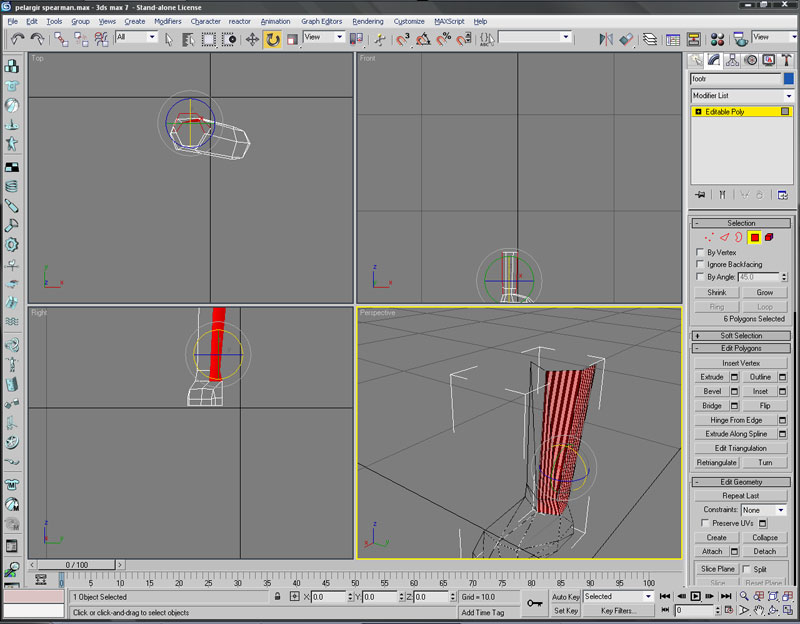
Collapse stack, select the other side

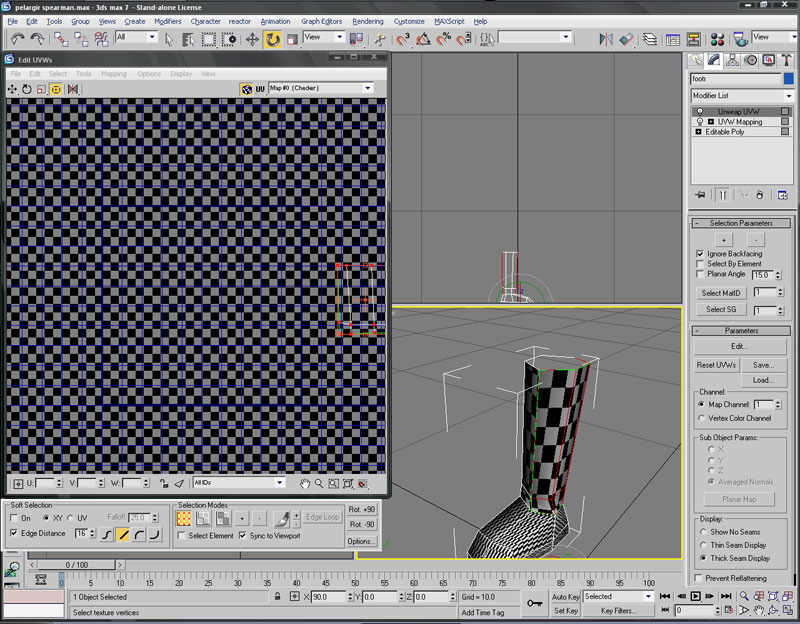
Again, remove any stretching

Collapse the stack and select the foot.

Apply a Map and then an Unwrap to it.

There will be a lot of stretching. Only so much of it can be eliminated - you can completely remove it if you're clever, but it usually takes more trouble than its worth.

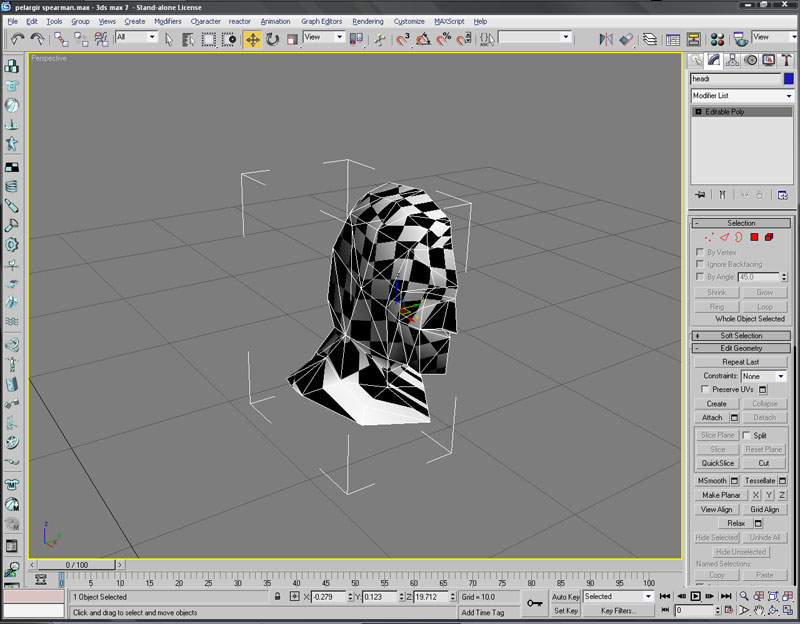
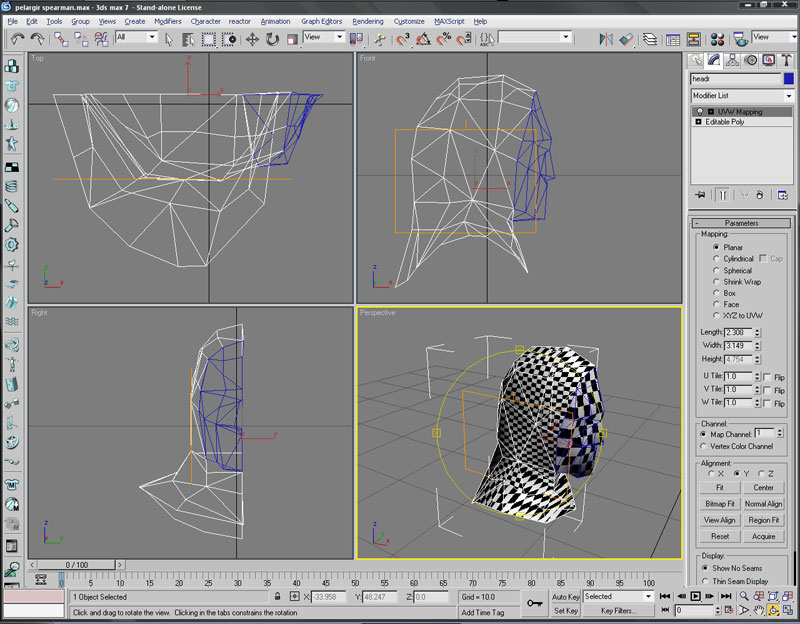
Unhide the head and hide everything else

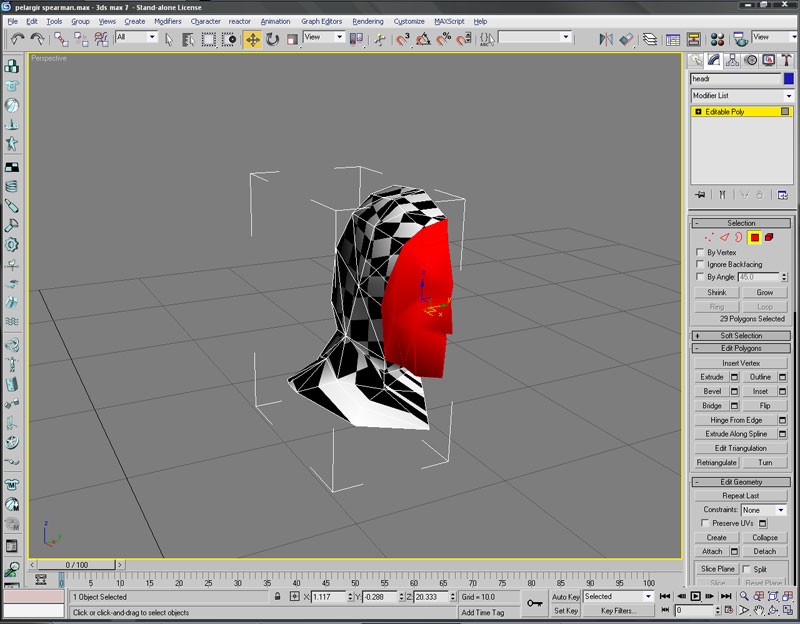
Since this guy has a chainmail coif, I want to isolate the face, so select its polys only.

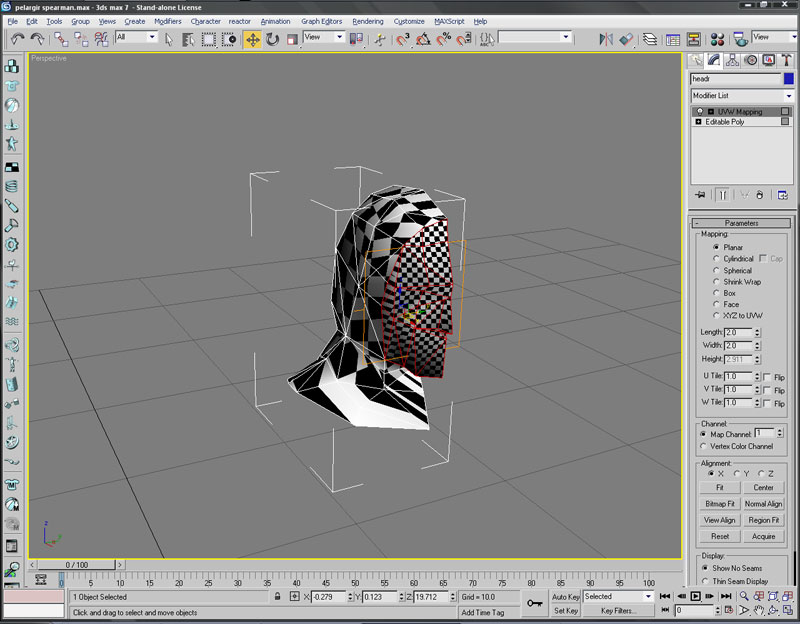
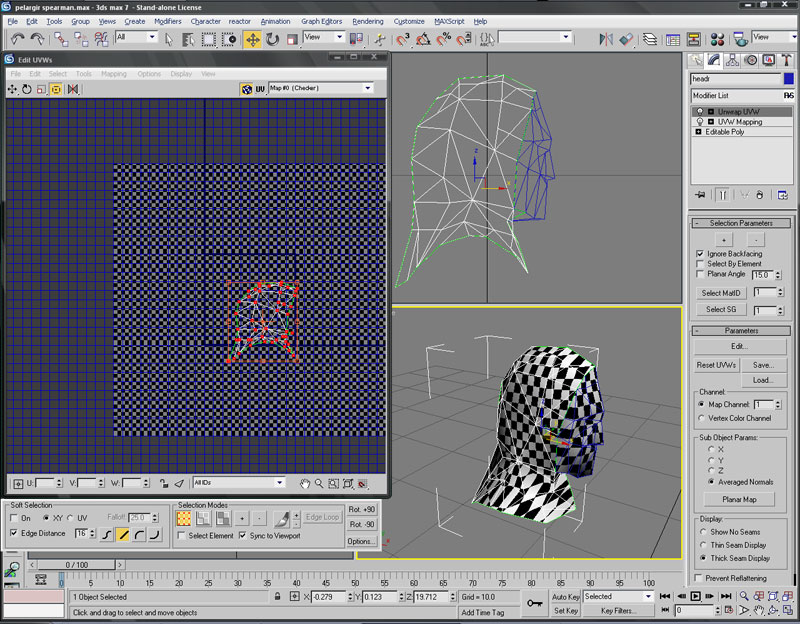
Apply a planar map.

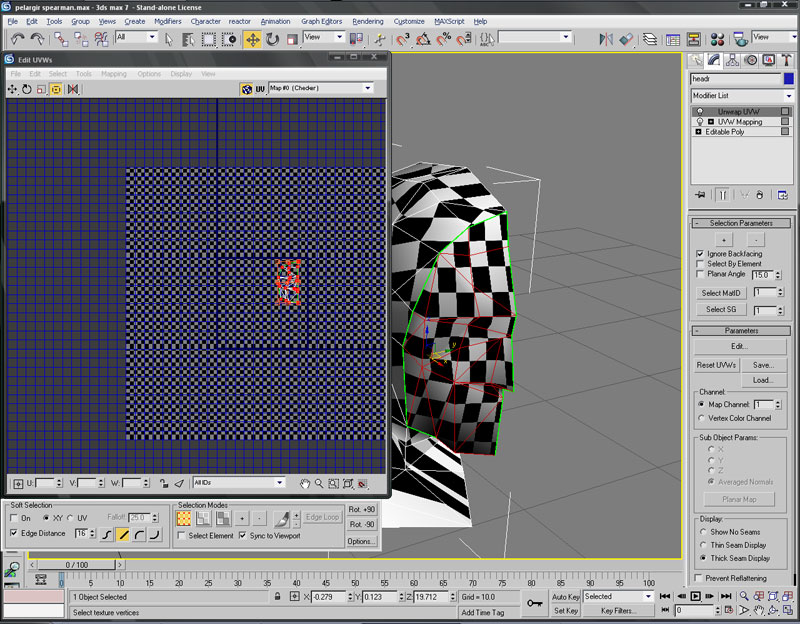
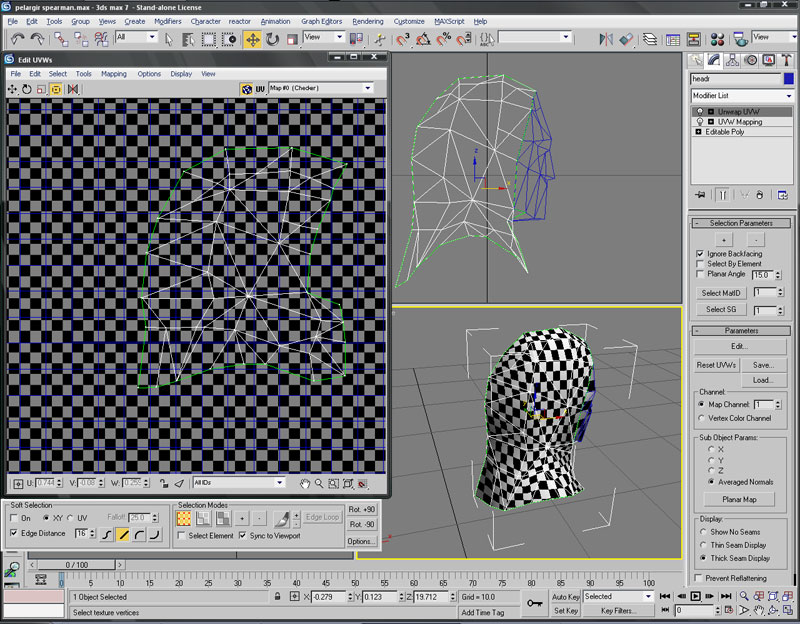
Remove any stretching with the Unwrap modifier

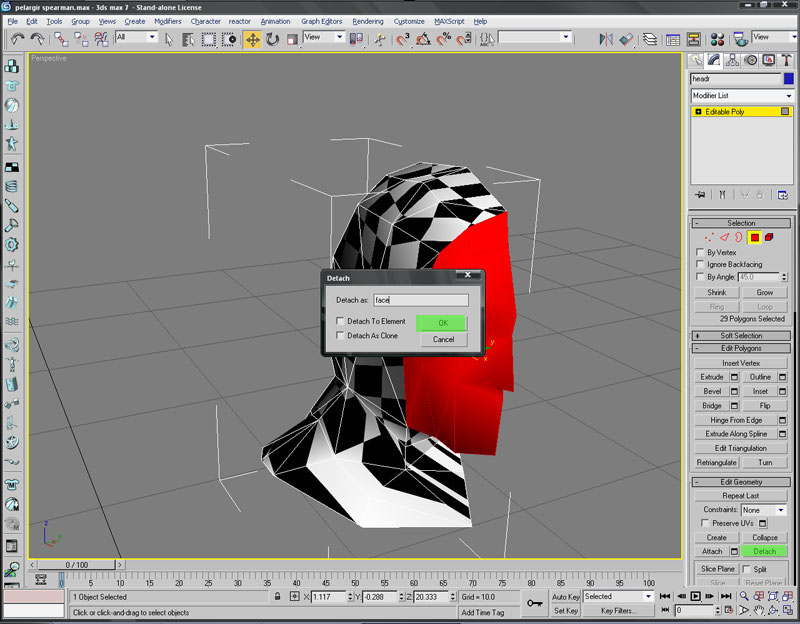
It could help to detach this area... you can do it if you wish.

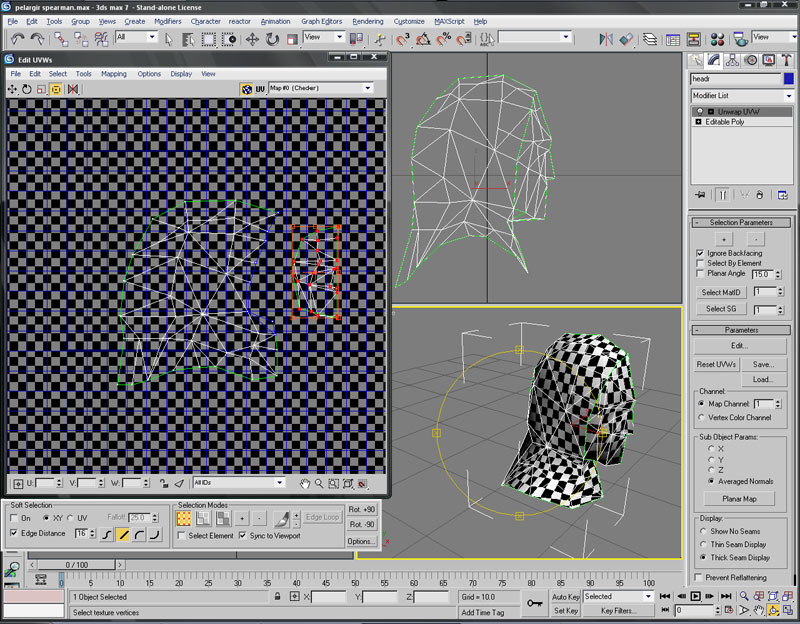
Now we just have the coif. Apply a map modifier to it.

Notice that there is a lot of stretching.

Eliminate this as best you can.

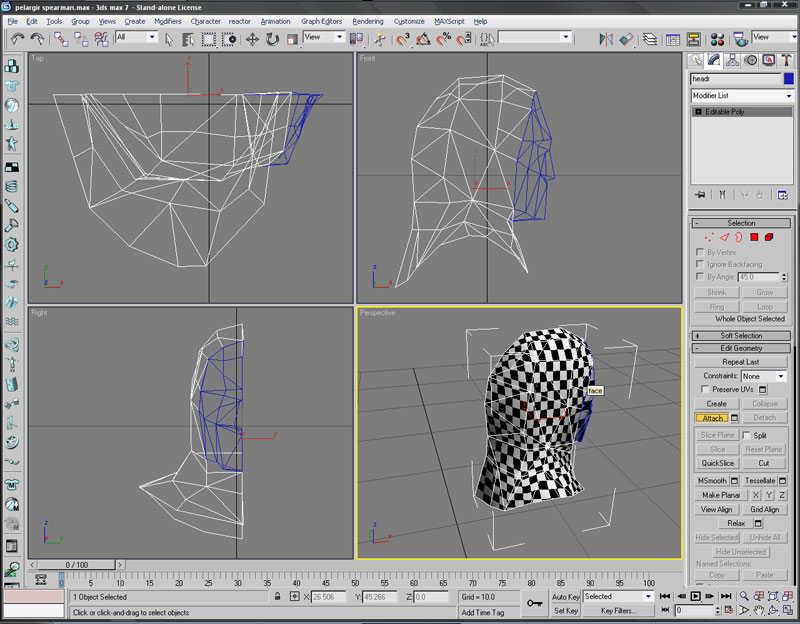
Reattach the face.

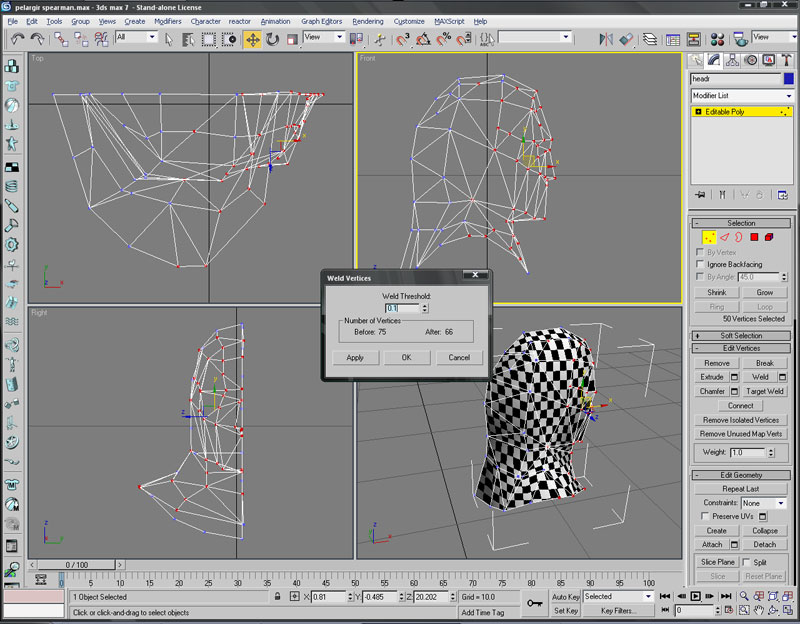
Remember to weld the vertices to prevent wierd errors

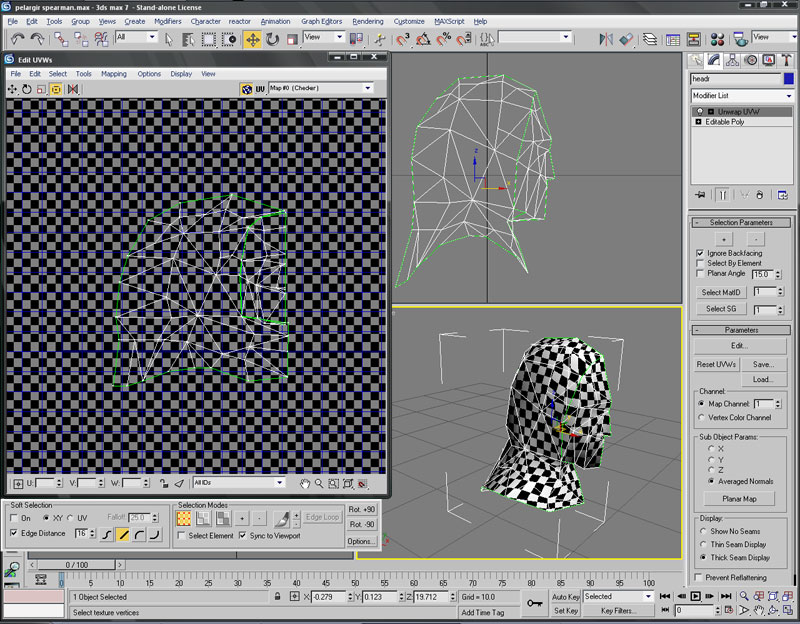
Now apply an unwrap modifier, and attach the face map to the coif.

This can take a bit of trial and error. The checker pattern is your best guideline.

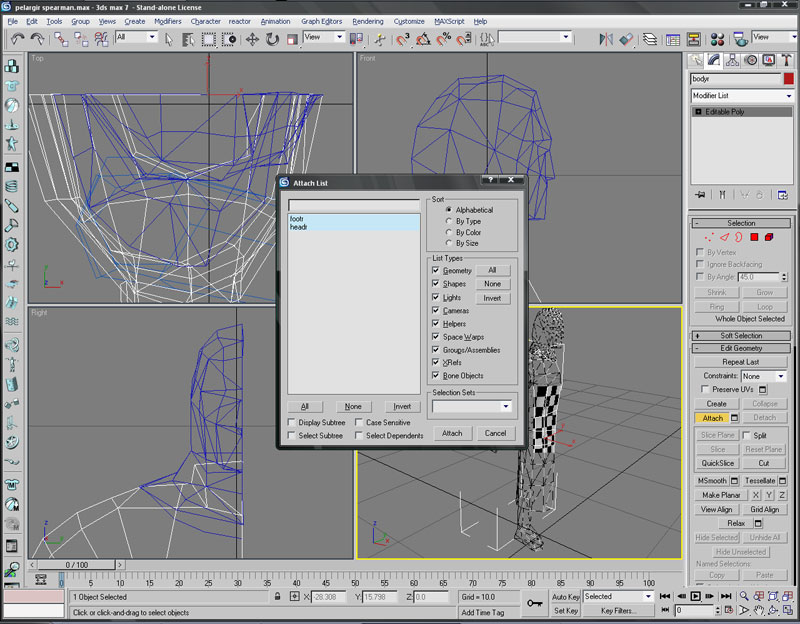
Now attach the foot and the head to the body. No need to weld here as they're not directly attached.

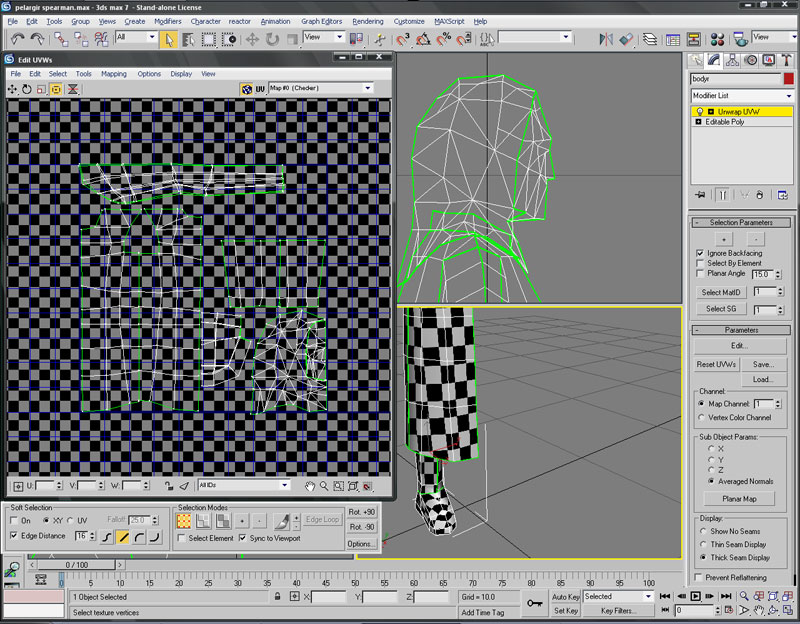
Now apply an unwrap modifier to the whole thing. It will look a big mess. If i'd been smart, I would have kept the parts nicely seperate.

Start by isolating what is what. Here I've got the leg parts, the head, the arm and the body.

It's a simple matter to arrange them into a nicely fitted square.

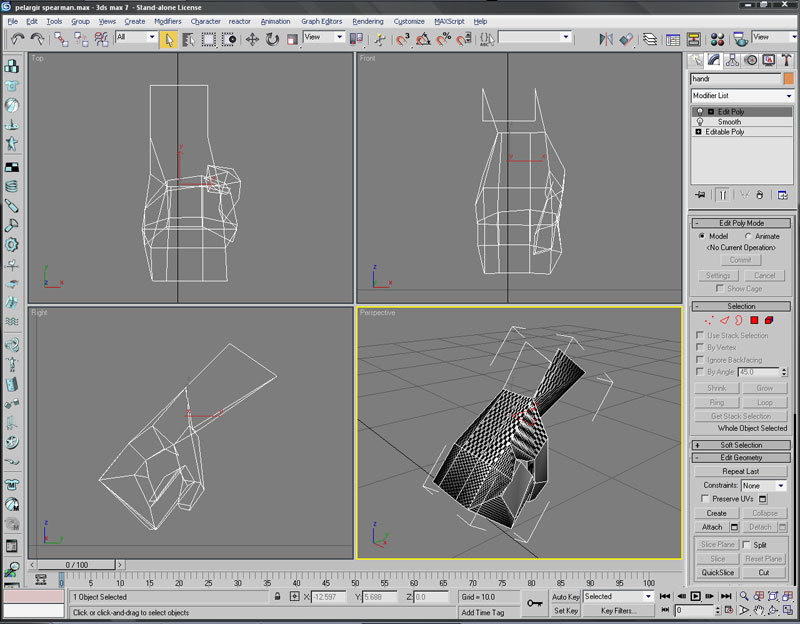
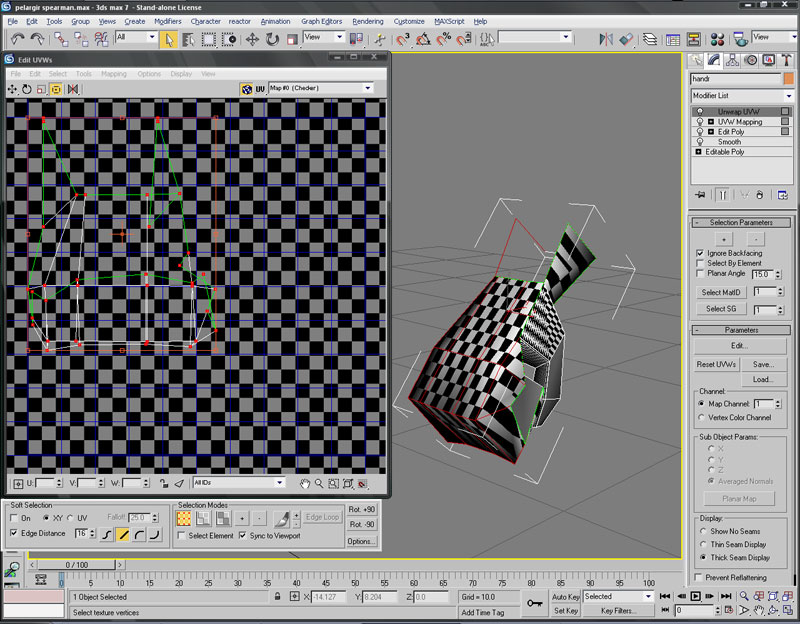
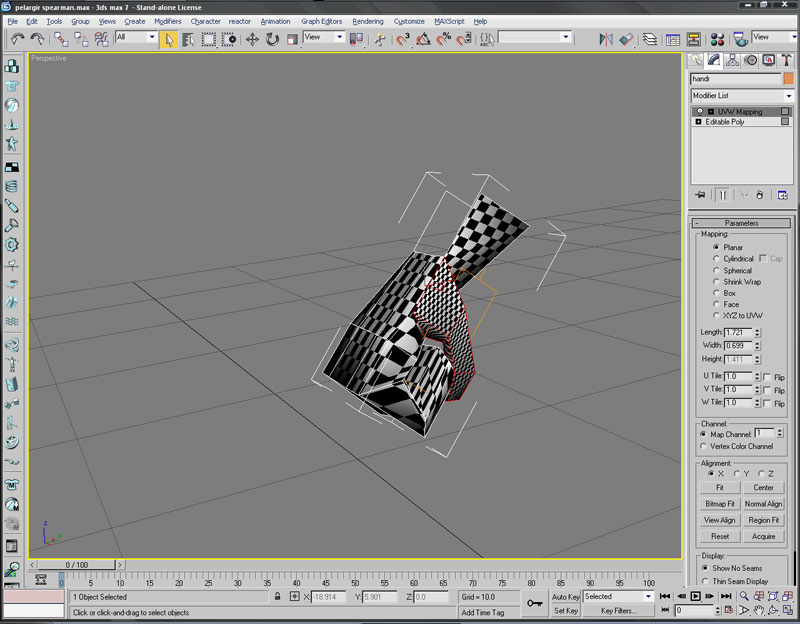
Now the hand. It's probably the most painful part.

Start by selecting and planar mapping the outside of the hand.

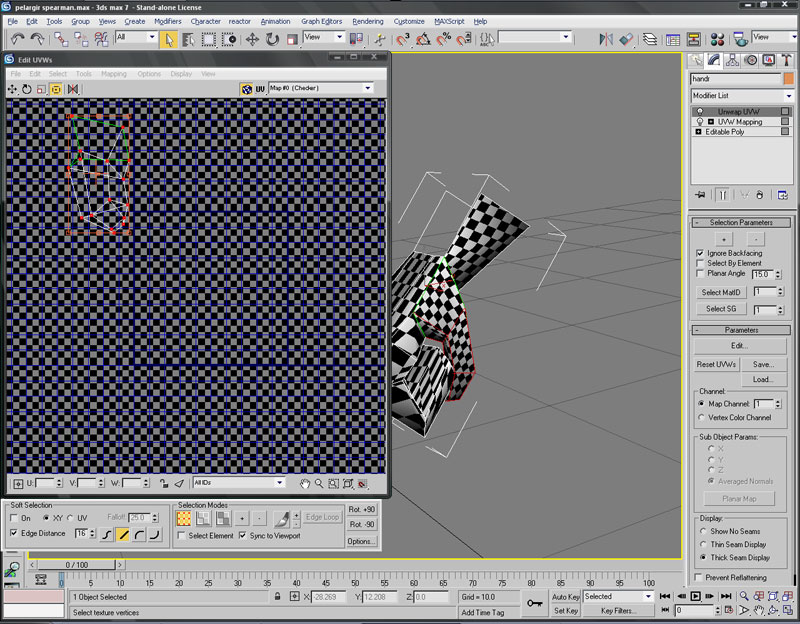
Untagle it and get rid of stretchign as best you can

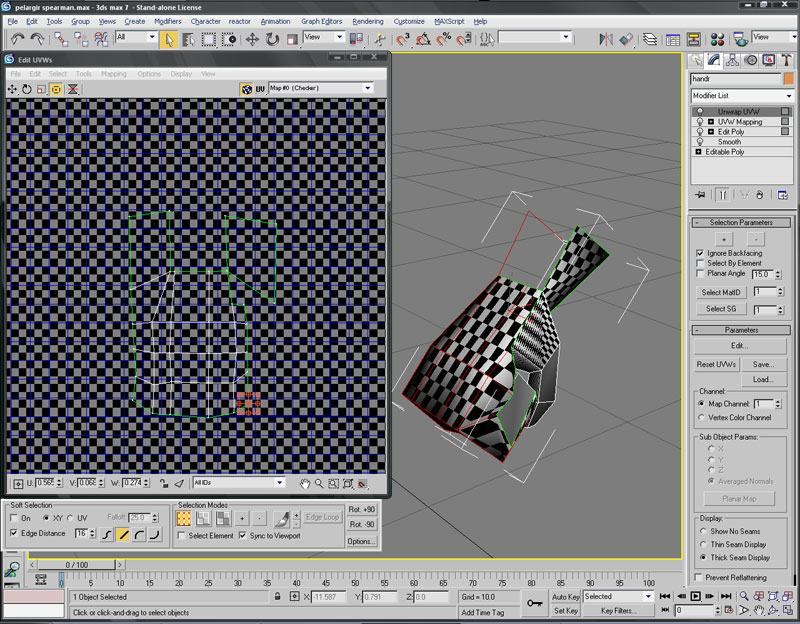
Then select and unwrap the inside of the hand

Again, remove stretching.

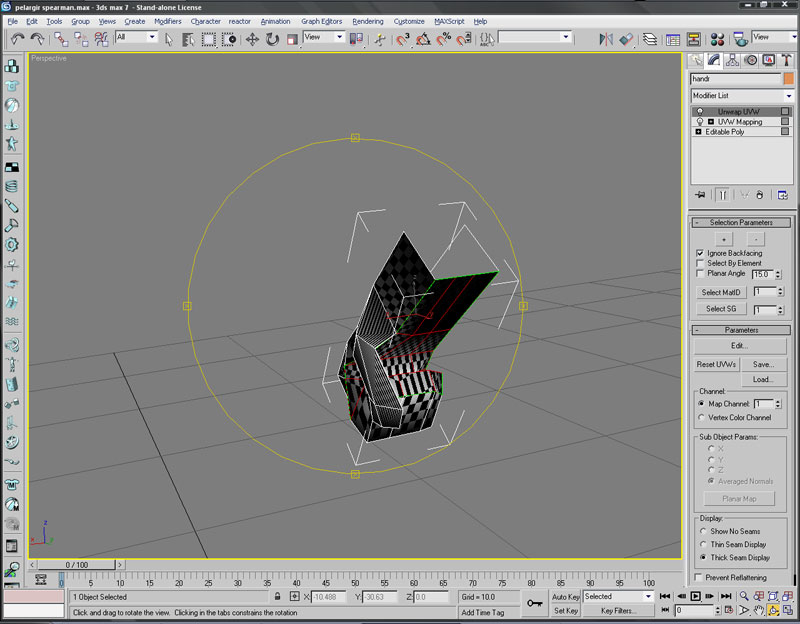
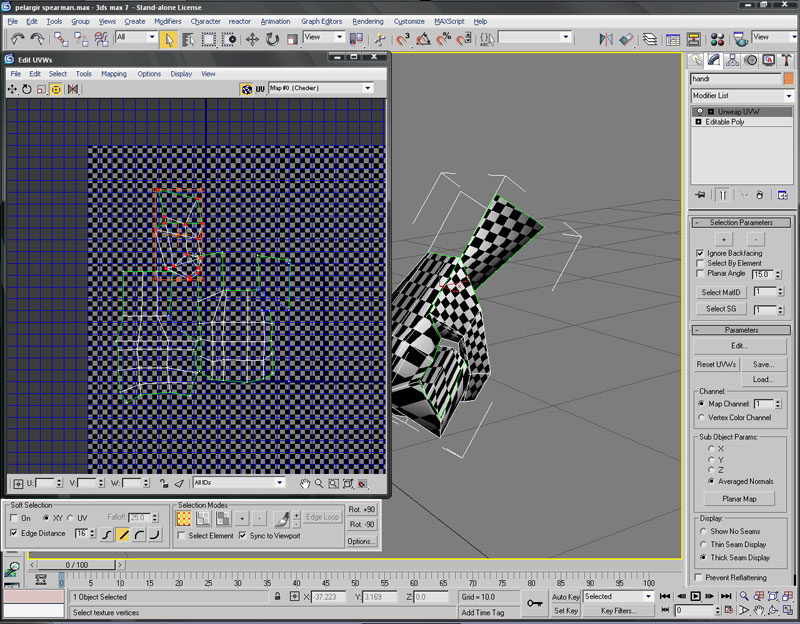
Then the thumb.

Remove as much stretching as possible

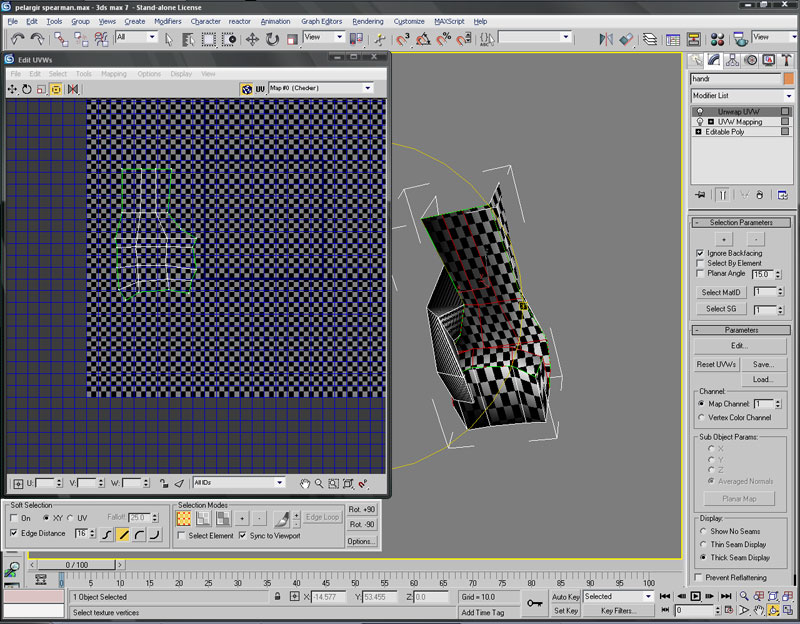
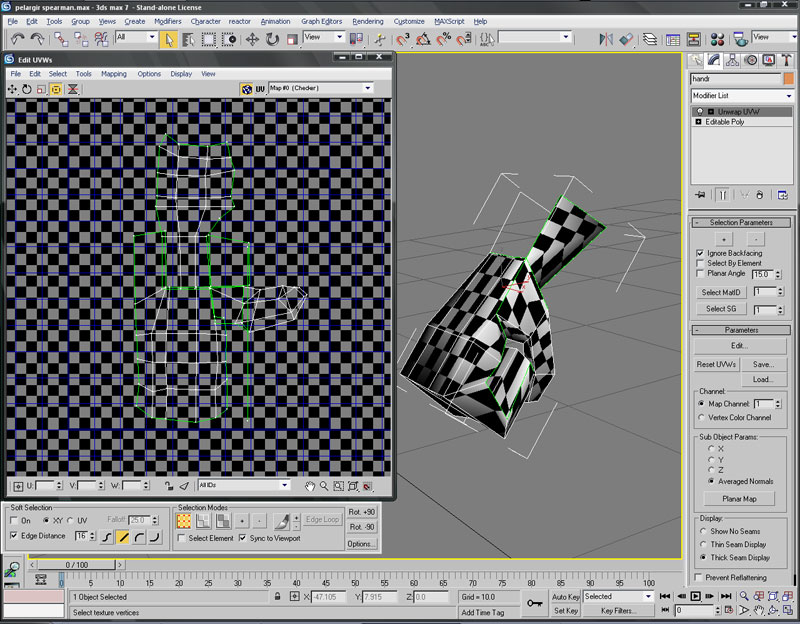
The combine them as best you can.

This layout has the top of the hand below, the bottom above, and the thumb sticking out.

Now attach it to the rest, and place it on the texture

And now I present the checkered man!
