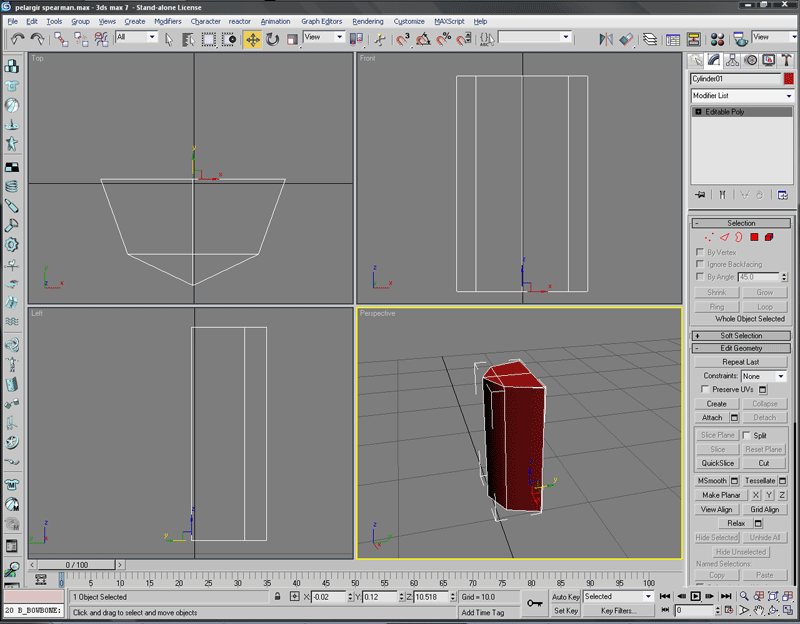
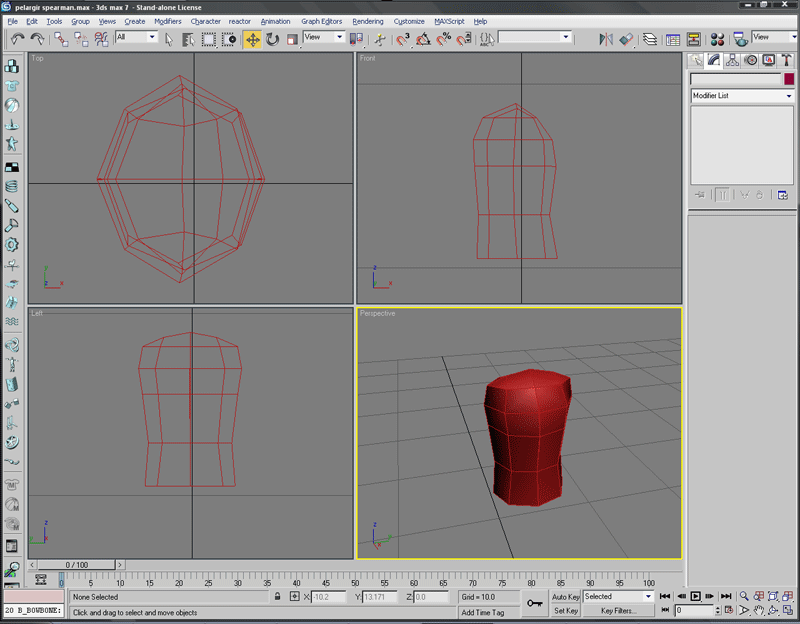
1. We start with an 8-sided cylinder, because that's roughly the shape of the human body. A box also works. 6 sided cylinders are used when I want to keep things low poy

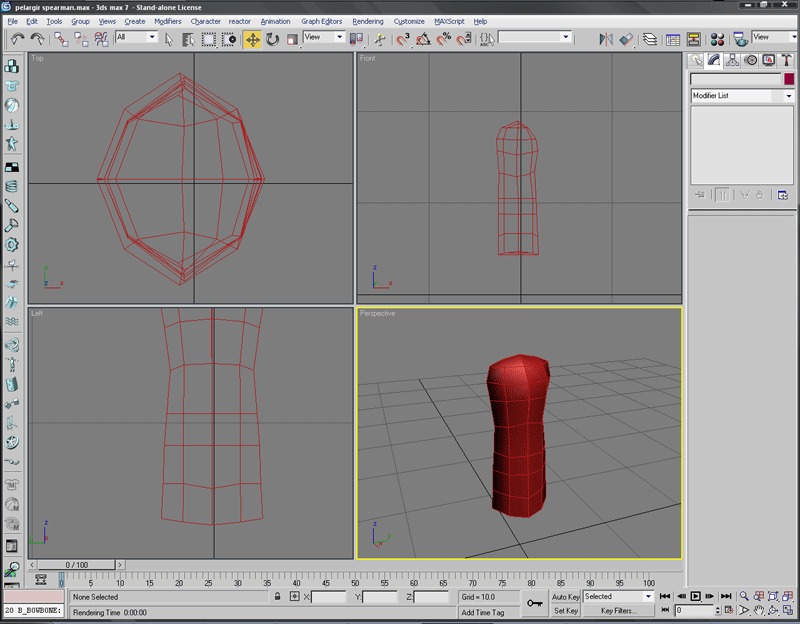
2. Then I delete half of it.

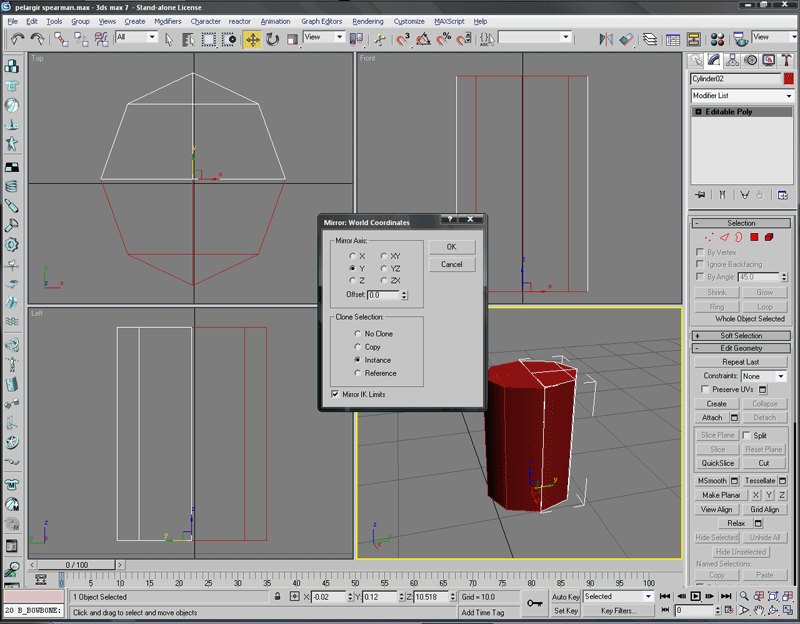
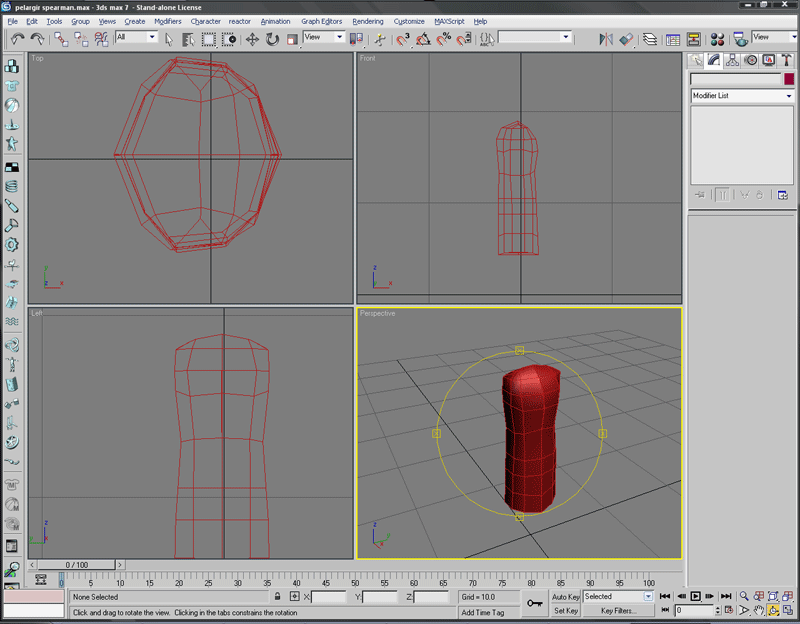
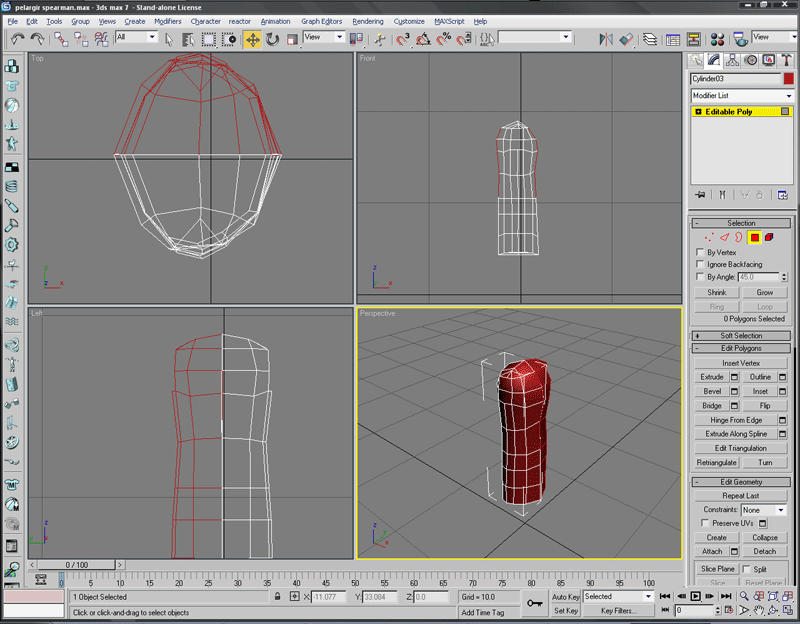
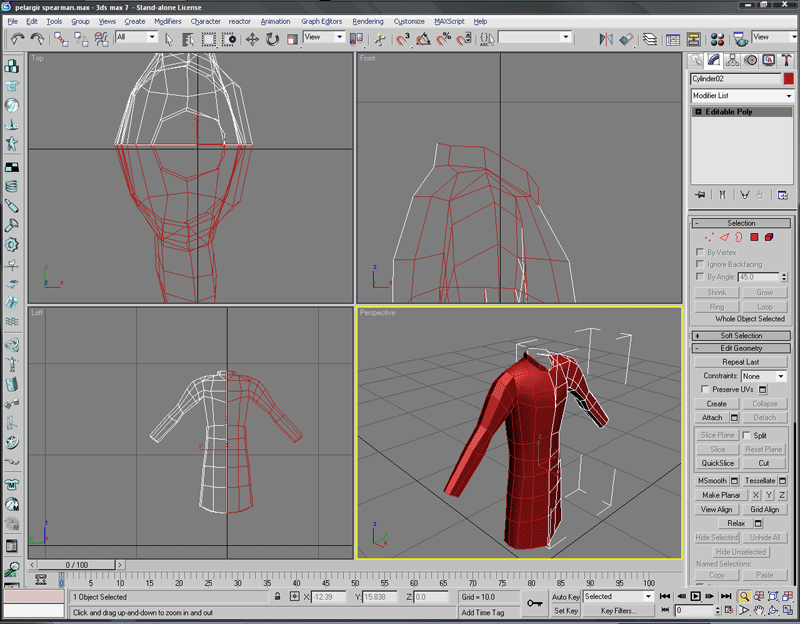
3. Then, using an Istance mirror I copy it, so that changes to one side will be mirrored on the other

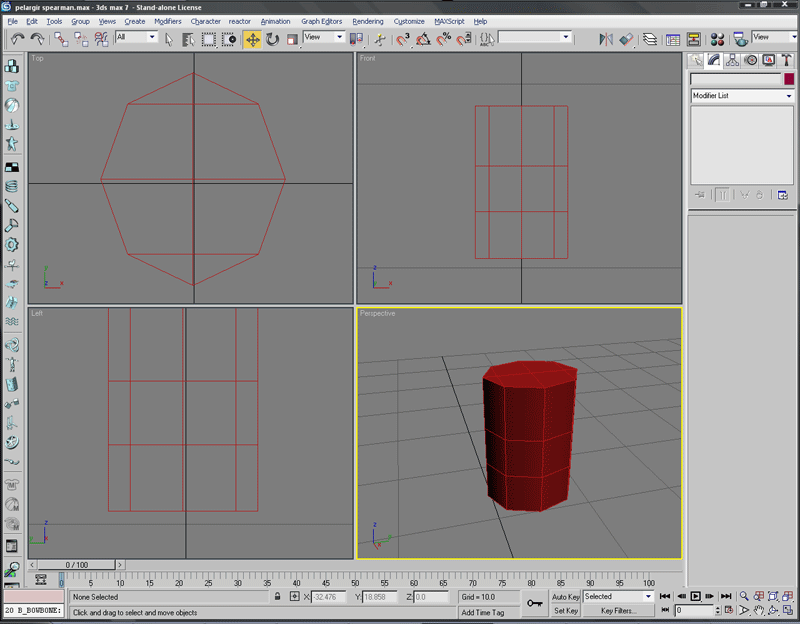
4. I use the slice tool to cut a few segments, they will help to define the chest.

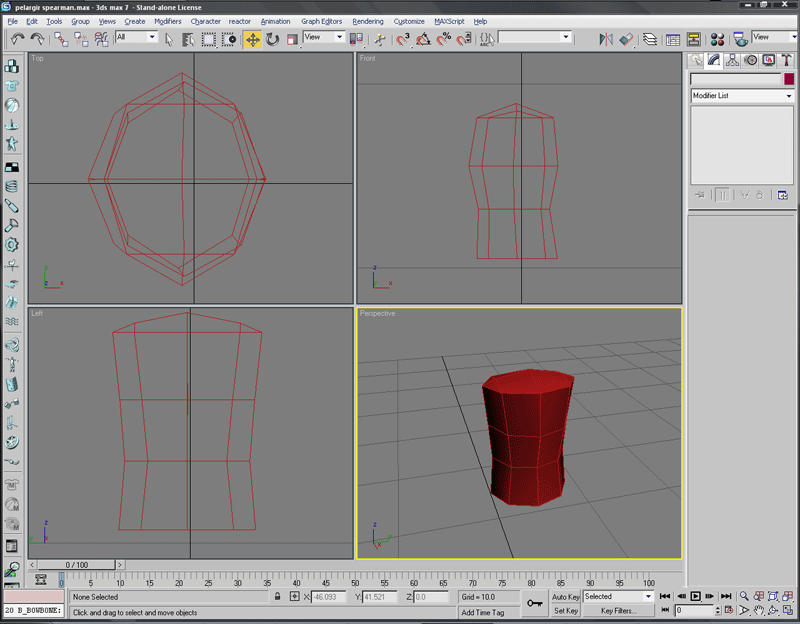
5. I start defining the chest shape. This step is very rough.

6. Then I start refining the chest. I cut another row near the top and start to shape it.

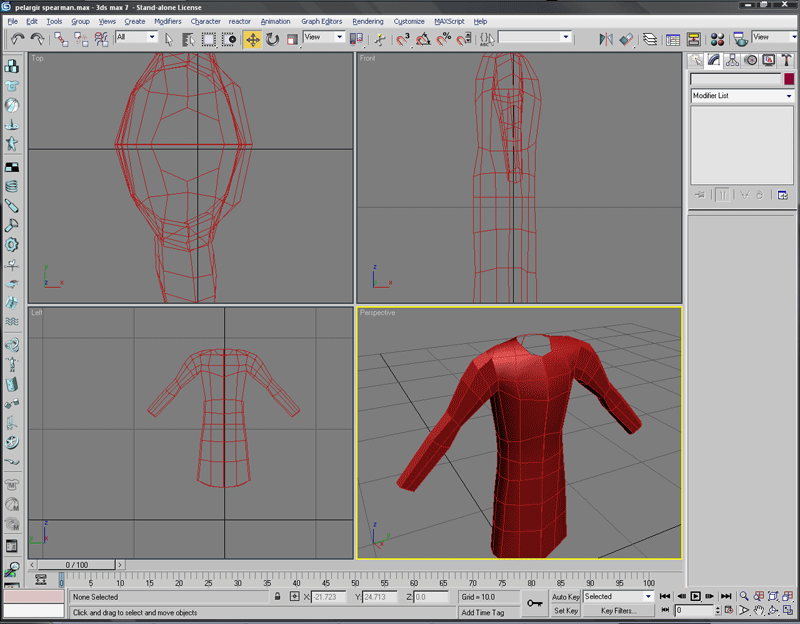
7. Then, using the extrude tool I extend the bottom to form the armour skirt. I shape it roughly by moving vertices. Notice how I try to shape the segments flowing with general muscular/articulation patterns... ie in the chest area

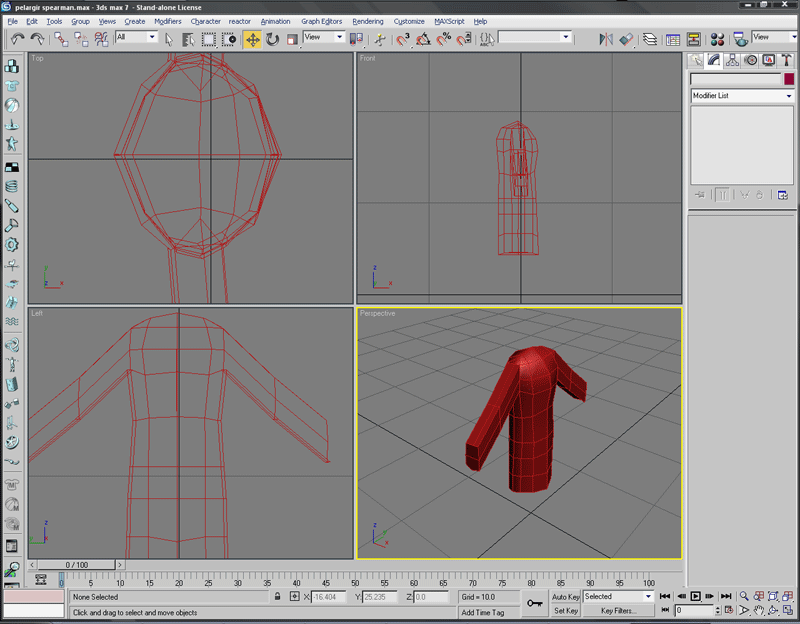
8. Here I cut a new edge along the side of the body with the cut too. Then I flatten it. The polygons near the shoulder will be the base of the arm. This step basically provides a surface to extrude the arms from

9. Then I cut another line, into the edge of the arm area. this is so the 2 polys that i'm going to extrude will have a total of 6 edges, so they can be formed into a hexagonal shape. That gives more control over the shape of the arms, who I don't want to be square.

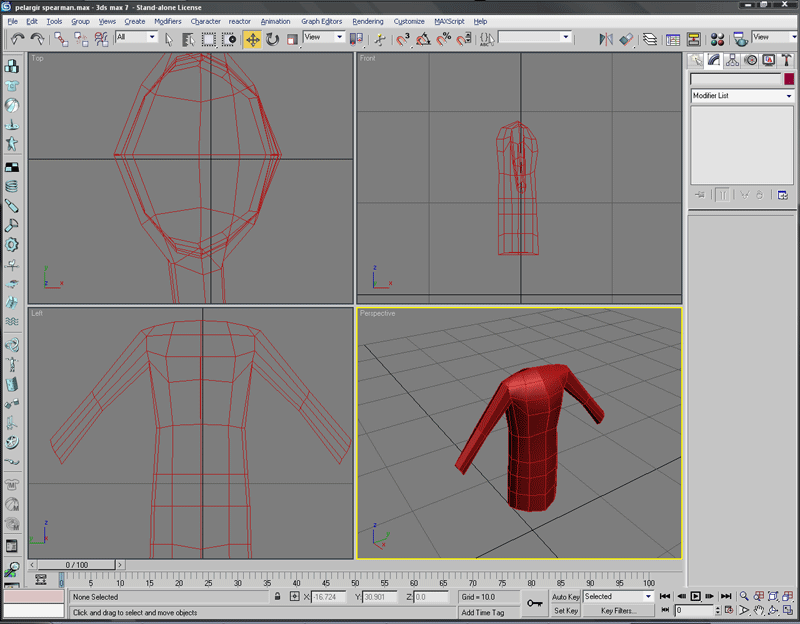
10. Basic extrusion of the arm polys. For this one I imported a BFME model to check the arm length (important if you want animations to look right)

11.I shape the arms into hexagons of the proper dimensions.

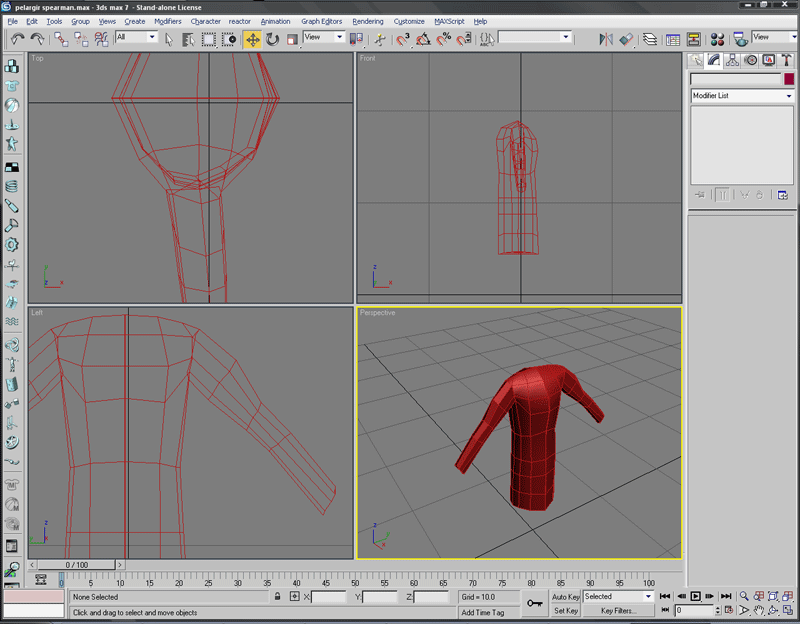
12. Using the cut tool, I cut where the important bwndy bits will be - the forearm and halfway down the upper arm. So then I can get a somewhat muscular shape going

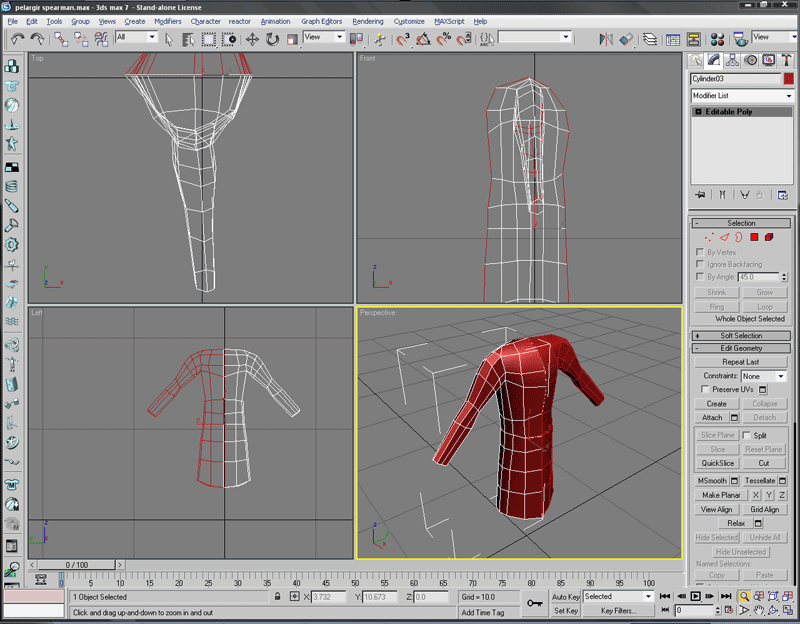
13. These areas are shaped with more cuts in the directions that they'll bend. I've also started to create a flowing set of polys from the new arm onto the chest, so that they merge with less of a seam. It helps for animation and its good form.

14. Here I've cut a neck hole, with the cut tool ,then deleted the inner polys, leaving a hole.

15. Extruding the neck edges gives a collar

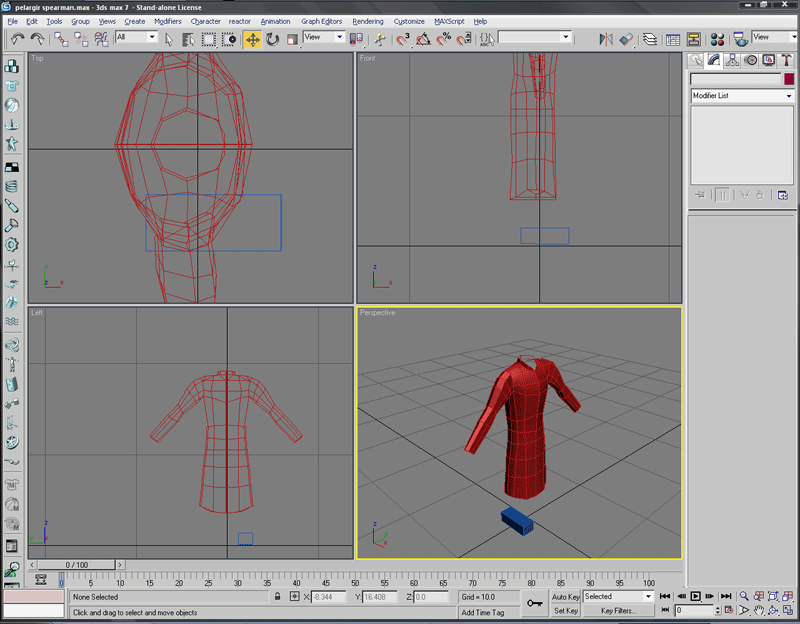
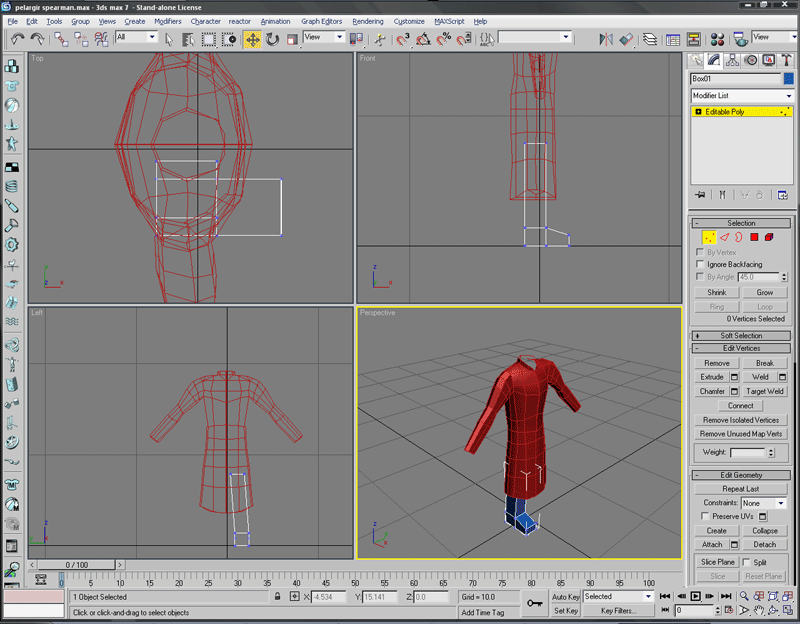
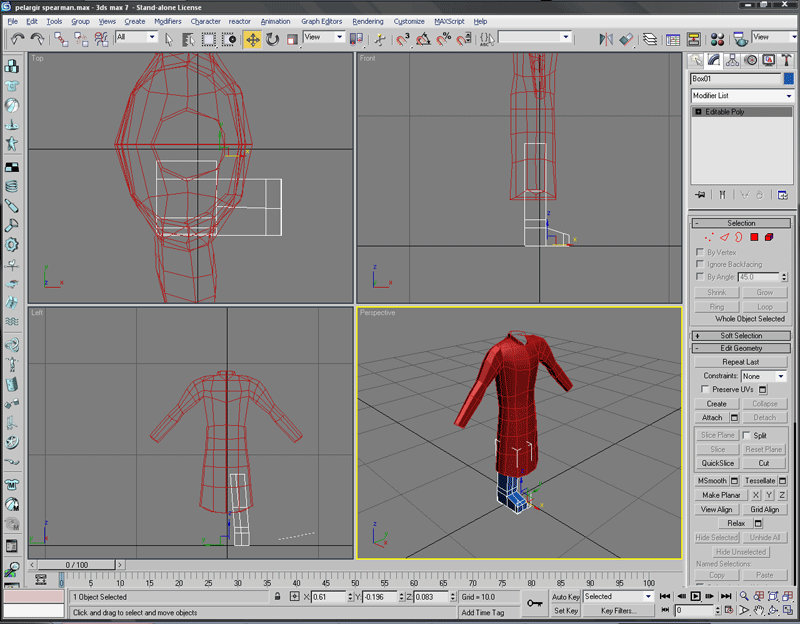
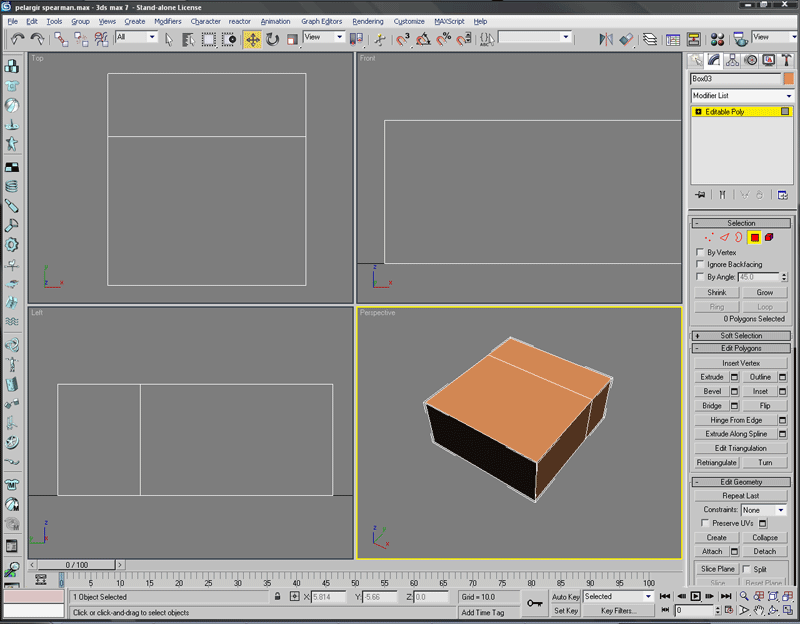
16. The foot starts with a box. Most things do when I'm modelling.

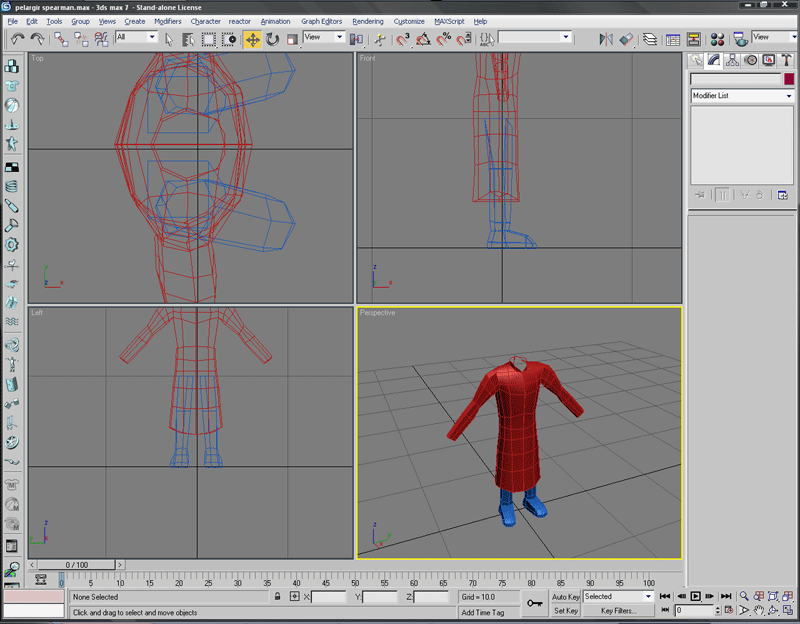
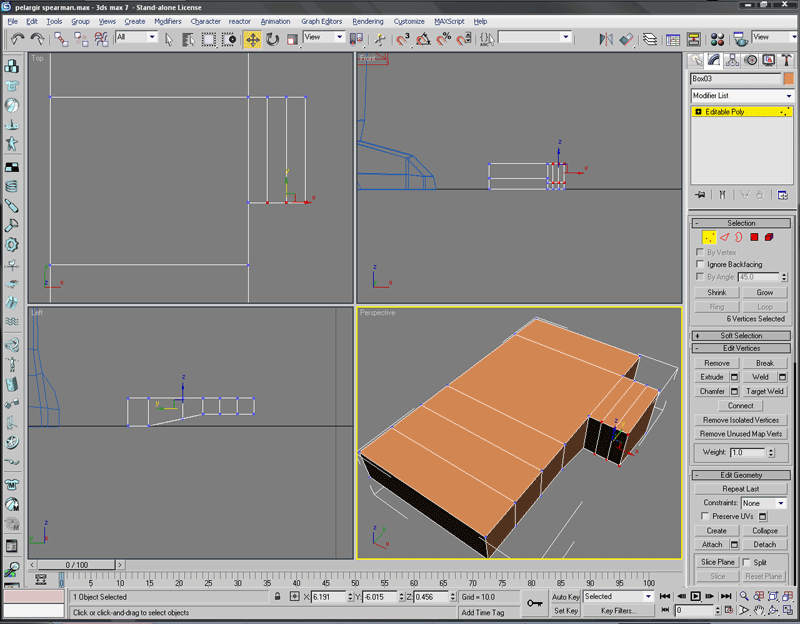
17. The box is extruded into a leg. This is as far as BFME models go, but I like to go further... so...

18. More cuts give me more places to shape vertices around. The line of the foot, the legs. I like everything I do for BFME to be hexagonal, so I can use half of it and mirror textures. The leg will be no exception

19. Looks like I skipped a few steps here. Anyways, more cuts and shaping results a a decent looking foot.

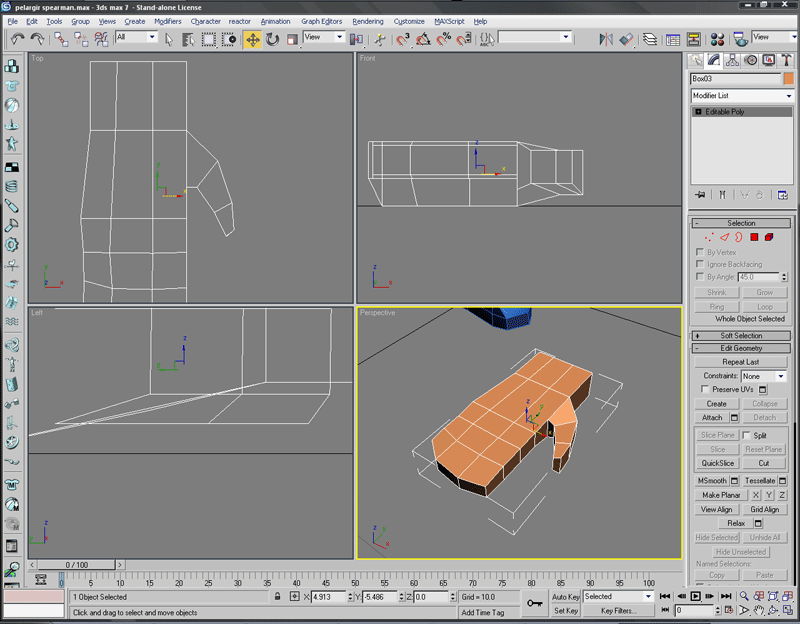
20. A hand. One segment, half is the palm, the other half is the arm connection

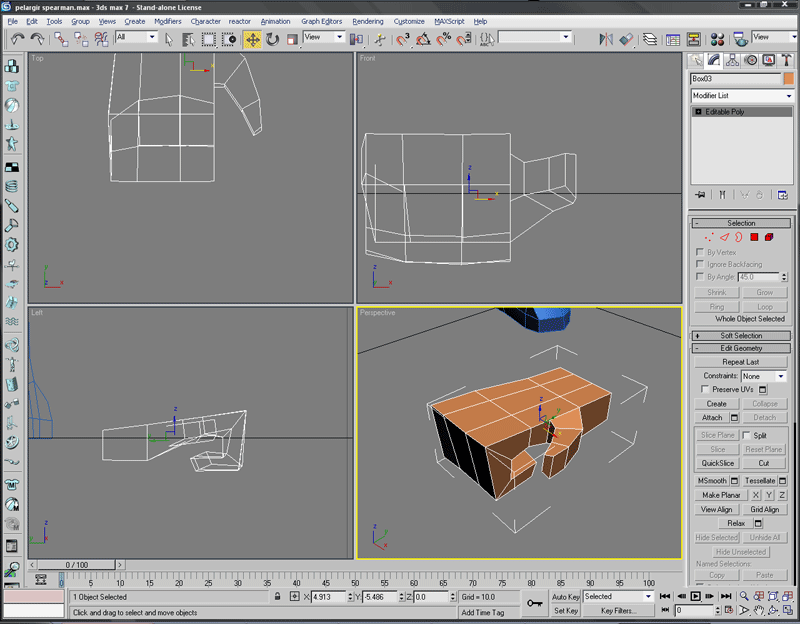
21. Extruding the finger and thumb joints. To keep it low poly, this hand will be a mitten-style hand, which will still look much better than a block hand.

22. Extruding the thumb more, then bending it. Some cuts also help shape the fingers

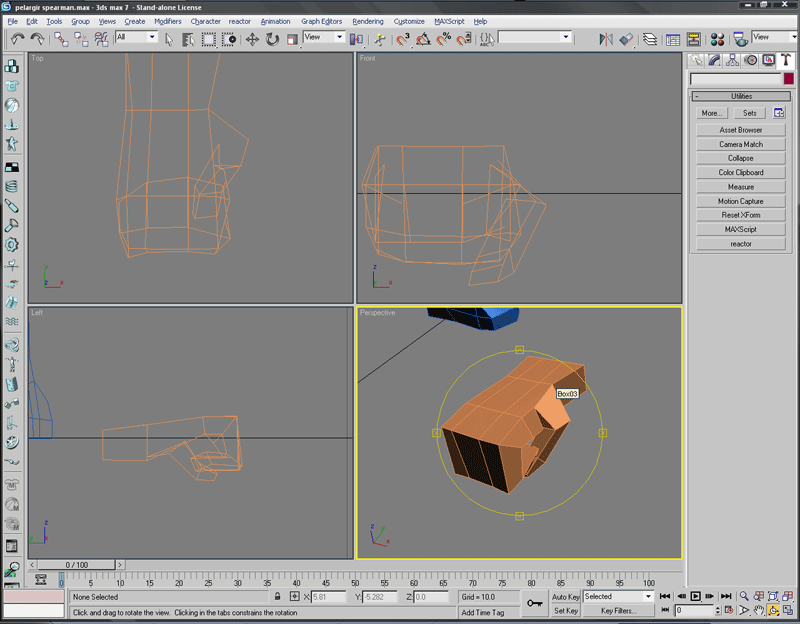
23. Now it's a simple matter of manipulating the vertices into a gripping position...

24. And the thumb. Some vertices could be moved to remove the squareness of the hand

25. Hands attached to body! Poly count at this point is ~900. Everything duplicated is instanced, which helps with mapping too.


